Best Ways to Use Elementor Blocks for Faster Page Building

Stop starting from a blank canvas every time. Learn how smart block-based design lets you ship beautiful WordPress pages in half the time.
Every web designer knows the feeling: you open Elementor, stare at a blank page, and wonder where to begin. You fiddle with columns, wrestle with spacing, duplicate sections from old projects, and two hours later you’ve got half a homepage. Sound familiar?
Elementor’s block-based system exists precisely to solve that problem, but most creators only scratch the surface of what it can do. In this guide, we’ll walk through the best, most practical ways to use Elementor blocks so you can build faster, look more professional, and stop rebuilding the same layouts from scratch.
| 43% of websites on the internet are powered by WordPress
Making it the most widely used CMS platform by a vast margin, and Elementor is the #1 page builder for WordPress with over 12 million active installs. |
Fast Fact: Elementor was first released in 2016 and has since become the world’s leading website builder platform, powering over 12 million websites globally with its drag-and-drop page builder and widget ecosystem.
What Are Elementor Blocks, Exactly?
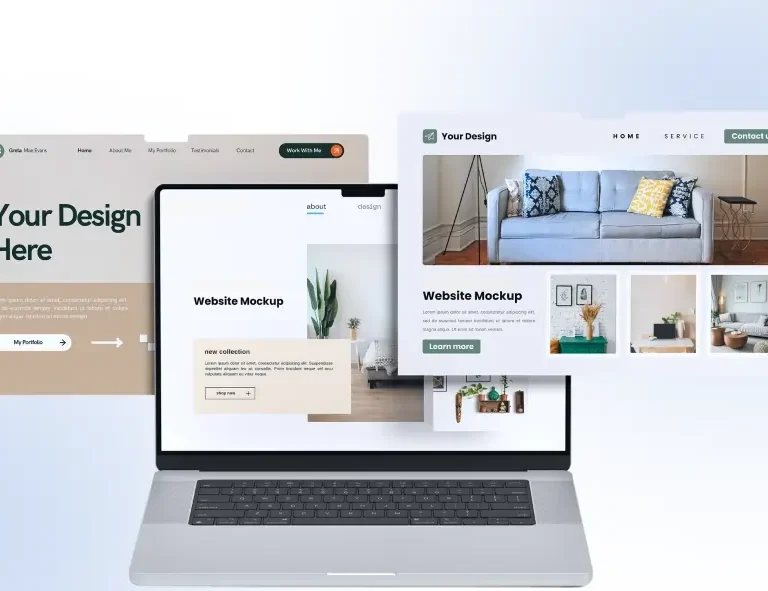
In Elementor, a block is a pre-designed section a fully styled, ready-to-use layout for a specific part of a page. Think: a hero banner, a services row, a testimonials section, a footer. Blocks come either from Elementor’s own template library or from addons like OneClickBlocks.
The difference between a “block” and building from scratch is like the difference between assembling furniture and making the furniture yourself. Both end up with a table, but one takes 20 minutes, and the other takes a weekend.
| Did You Know?
Elementor’s inner sections and blocks were inspired by the concept of “atomic design,” a methodology by Brad Frost that breaks interfaces into components (atoms, molecules, organisms) so they can be reused, mixed, and scaled efficiently across any project. |
1. Start with a Block, Not a Blank Canvas
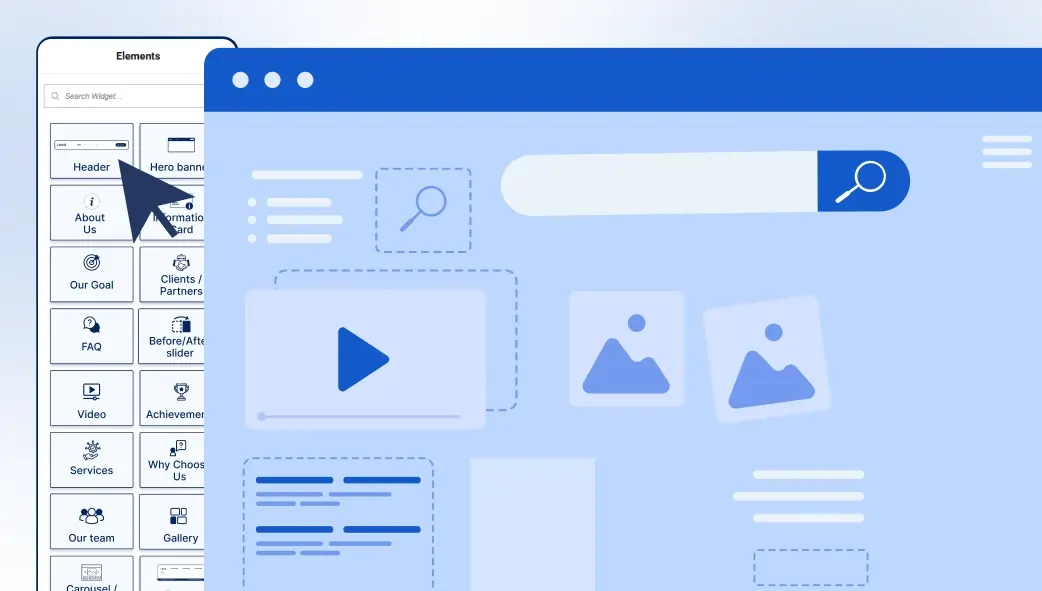
The single biggest time-saver in Elementor is also the most underused one: the block library. Instead of dragging a section widget, adding columns, and inserting content, just pick a pre-designed block that matches what you need, import it, and customize.
- Open the Elementor Editor
Click “Edit with Elementor” on any page. You’ll land in the live editor panel. - Click the Folder Icon (Template Library)
In the editor, click the folder/template icon to open block templates. Here you’ll find hundreds of pre-built sections. - Filter by Block Type
Browse by category: Header, Hero, Services, Testimonials, Pricing, Footer, etc. Find one close to what you need. - Insert and Customize
Click “Insert” to drop the block onto your page. Then simply swap out text, colors, images, and fonts to match your brand.
| Pro Tip: With OneClickBlocks installed, you get an entire library of additional blocks right inside Elementor, including Testimonials, Blog Grids, Callout Boxes, Sliders, Headers, and Footers without installing multiple separate plugins. One plugin. All the blocks you need. |
2. Build a Reusable Block Library for Your Brand
“Design is not just what it looks like and feels like. Design is how it works.”
~ Steve Jobs, Co-founder of Apple
Jobs’ quote applies perfectly to Elementor workflows. Blocks aren’t just about aesthetics; they’re about building a system that works efficiently every time you sit down to create a new page.
Once you’ve customized a block to match your brand your fonts, colors, spacing save it as a Global Widget or a custom Template. This creates your own personal library of brand-ready blocks you can re-drop onto any future page in seconds.
- Save your custom header block as “My Brand Header v1.”
- Create a standardized testimonials section with your color palette saved
- Store your most-used CTA banner as a reusable template
- Build a “Services Row” block using the specific card style your clients love
- Save footer blocks per project type: e-commerce vs. portfolio vs. business
- Use Global Widgets for elements that repeat (like a subscription form) to update them everywhere at once
3. Know Which Block to Use When
Not all blocks are created equal, and knowing which type to reach for at which stage of a page saves you from unnecessary redesigns and layout rework. Think of a page like a story: it has a beginning, a middle, and an end, and every part needs the right block to tell it well.
At the very top of any page, your Header or Hero block does the heavy lifting. This is where your visitor forms their first impression in under three seconds, so it needs to be bold, clear, and on-brand. OneClickBlocks’s Header & Footer Builder lets you design this section completely independently of your WordPress theme, giving you total creative control without touching a single line of code.
Once you’ve hooked your visitor, the middle sections need to build trust and communicate value. That’s where blocks like Service Cards, Callout Boxes, and Blog Post Grids come in. Service blocks present your offerings in clean, scannable layouts. Callout boxes draw attention to your most important messages: a discount, a deadline, a bold promise. Blog grids keep your content fresh and automatically pull in your latest posts, making the page feel alive without any manual updating.
Social proof belongs as close to your conversion point as possible. A Testimonials block placed just above your CTA or pricing section can be the single most persuasive element on the entire page. Real words from real clients carry more weight than any headline you’ll ever write. OneClickBlocks’s Testimonial Widget gives you stylish layouts, carousels, grids, and quote cards that make feedback look as good as it reads.
For pages with visual assets product images, portfolio pieces, campaign photos a Slider or Carousel block does what a static image simply can’t. It tells a sequential story, keeps visitors engaged longer, and reduces the amount of vertical scroll needed to showcase multiple items. Finally, every page ends where it began: at the Footer. A well-designed footer block isn’t just a closing; it’s a navigation hub, a trust signal, and often the last chance to convert someone who scrolled all the way down. Design it properly, and it works for you around the clock.
4. Time Saved: Block-Based vs. Scratch Design
Let’s be honest about how long building from scratch actually takes. A typical landing page hero section, features row, testimonials, CTA can consume anywhere from four to six hours when you’re building every column, padding, and font size manually from a blank Elementor canvas. A full homepage with navigation, multiple content sections, and a footer? You’re looking at a full workday, sometimes more, especially if you’re iterating on spacing and mobile responsiveness along the way.
Block-based building changes that math entirely. When you start with a pre-designed block for each section, you skip the structural work altogether and jump straight to customization, swapping your copy in, updating colors, replacing images. A landing page that once took five hours can realistically be done in under ninety minutes. A homepage that consumed an entire day can be assembled and polished in two to three hours.
The time savings aren’t uniform across every page type, and that’s worth understanding. Simpler pages like a basic services page or a blog layout see the most dramatic reduction, often 75 to 80 percent faster because the layouts are straightforward and the blocks map almost perfectly to what you need. More complex pages like custom WooCommerce product pages or multi-section homepages still benefit hugely, but require more customization time on top of the base block, bringing the savings closer to 60 to 65 percent.
For freelancers and agencies, those hours have a direct dollar value. If you charge by the project and you’re delivering sites in half the time, you’re effectively doubling your hourly rate or taking on twice the number of clients. For business owners building their own sites, those saved hours are time back in your day to focus on actually running your business rather than wrestling with page layouts. Either way, the compounding effect of working with blocks instead of against a blank canvas is one of the most underrated advantages in the entire WordPress ecosystem.
5. The Essential Blocks Every Elementor Site Needs
Whether you’re building a portfolio, a service business, or a WooCommerce store, certain blocks show up on nearly every effective website. Here are the must-haves, all available in OneClickBlocks:
Testimonial Block
Display real client feedback in clean, trust-building layouts.
Blog Posts Grid
Showcase recent posts in auto-updating grids or list layouts.
Header Builder
Design a custom, sticky, or transparent header independent of your theme.
Slider / Carousel
Responsive image and content sliders with smooth transitions.
Callout Boxes
Eye-catching banners to highlight offers, news, or key messages.
Service Blocks
Polished icon-card rows to present your offerings professionally.
Content Blocks
Full-section pre-designed blocks to build complete page areas quickly.
Footer Builder
Custom footers that stay consistent across every page of your site.
6. Performance Tips When Using Multiple Blocks
Best Practice: Only activate the widgets you actually use. OneClickBlocks lets you enable/disable individual widgets from the settings dashboard, keeping your site lean and your page speed score high.
One common trap designers fall into: installing multiple add-on plugins to get just one widget each. A slider plugin here, a testimonial plugin there, a team section plugin somewhere else. Before long, you’ve got eight active plugins all adding scripts and stylesheets to every page load, tanking your performance scores.
- Use a single, selective add-on like OneClickBlocks instead of five separate plugins
- Enable only the blocks you use; disable unused widgets to reduce code load
- Use Elementor’s built-in lazy loading for images inside block sections
- Avoid nesting blocks inside blocks more than two levels deep it complicates the DOM
- Cache your pages with a caching plugin after building with blocks for optimal speed
- Keep fonts to two or fewer blocks; often come with default fonts; standardize them globally
7. Blocks for WooCommerce Pages
Running an online store? Block-based design isn’t just for informational pages. WooCommerce product pages, landing pages for specific products, and sales sections all benefit enormously from structured blocks. With OneClickBlocks’s WooCommerce-friendly widgets, you can build:
Product Feature Sections
Use Service Blocks or Content Blocks to spotlight key product benefits with icons and short copy.
Social Proof Sections
Drop a Testimonial Widget above your Add-to-Cart button. Studies show social proof near purchase points increases conversions.
Campaign Landing Pages
Build a complete sales landing page using a Hero block, Feature blocks, Testimonials, and a CTA block in under 30 minutes.
8. Freelancers & Agencies: Scale Your Workflow
If you build sites for clients, Elementor blocks aren’t just a speed hack; they’re a business model enabler. Here’s how professional creators use them strategically:
| Did You Know?
Freelance web designers who use component-based and block-based workflows report being able to deliver client websites up to 60% faster compared to building layouts entirely from scratch without reducing design quality. |
- Create “starter kits”: a saved set of brand blocks per client industry (healthcare, retail, SaaS, etc.)
- Reuse across projects once you’ve built and saved a great testimonials section, never rebuild it again
- Speed up revisions: blocks with Global Widgets mean one edit updates every instance sitewide
- Standardize quality: consistent block usage means consistent output quality across your team
Build Smart. Build Fast. Build Better.
Elementor’s true power isn’t just the drag-and-drop editor it’s the ecosystem of blocks and widgets that make it possible to go from blank page to beautiful website in a fraction of the usual time. The key is working with that system intentionally: use blocks as your starting point, save your brand blocks for reuse, keep your plugin stack lean, and let tools like OneClickBlocks fill in the gaps with the essential widgets that Elementor alone doesn’t cover.
Whether you’re building your first website or your five-hundredth client project, the principles are the same: start with a block, customize it to your brand, and move on. The goal isn’t to design every pixel from scratch it’s to ship great websites faster and spend your creative energy where it counts.