The Error 404 Widget by OneClickBlocks allows you to create fully customizable, visually engaging 404 error pages directly inside the Elementor editor — no coding required. With multiple built-in layout styles, editable headings, descriptions, button controls, and animated display options, this widget helps you turn dead-end pages into a professional, on-brand experience. It is designed to work with the Elementor Theme Builder and integrates seamlessly as a site part assigned to all 404 error conditions on your WordPress website.
Follow these steps to activate and add the Error 404 Widget to your WordPress site using OneClickBlocks and Elementor:
Step 1: Make sure the OneClickBlocks plugin is installed and activated from your WordPress dashboard under Plugins → Installed Plugins.
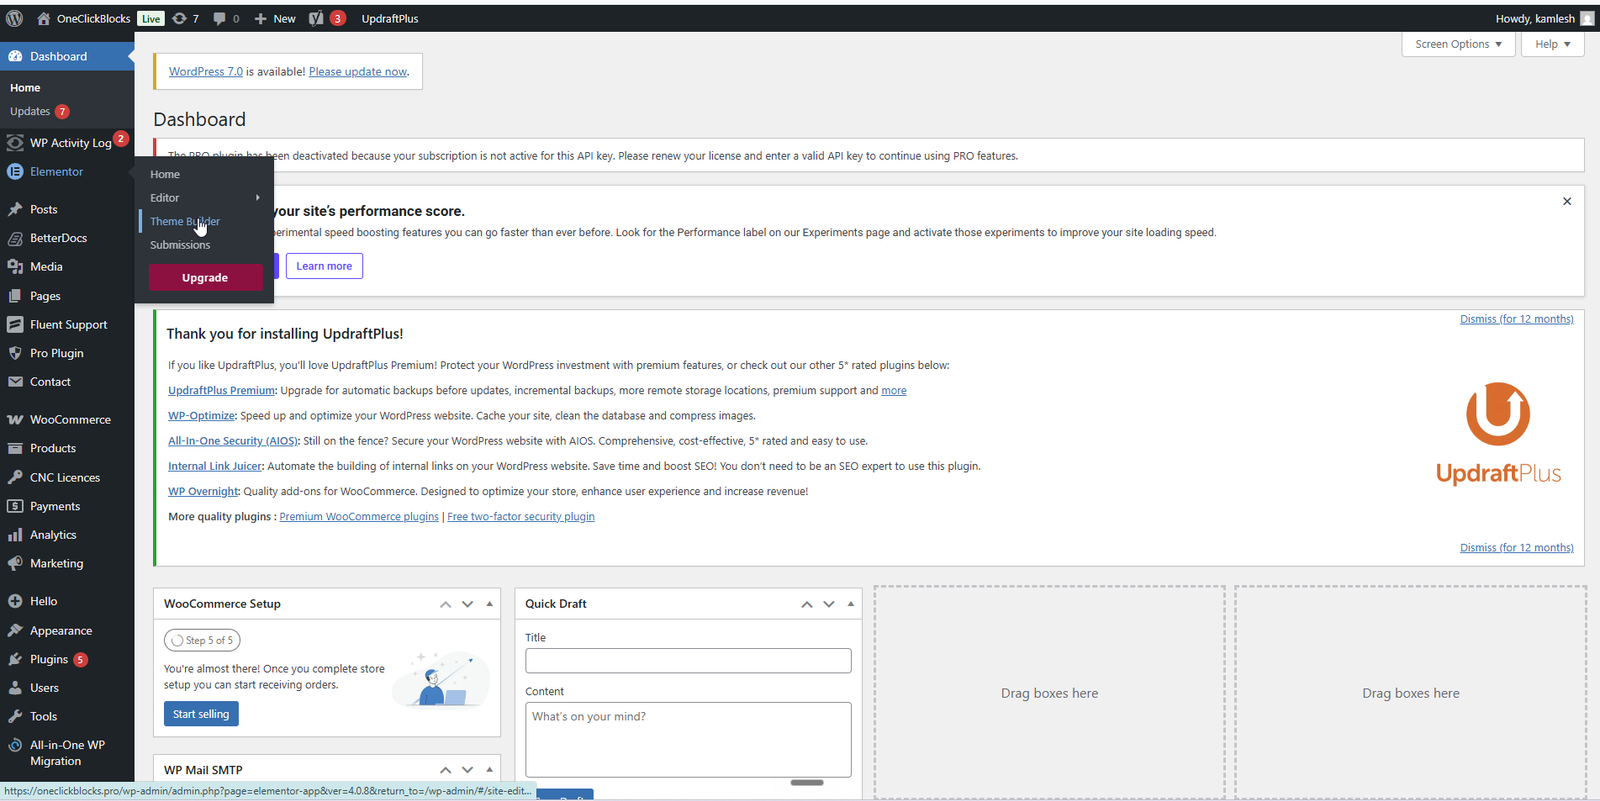
Step 2: In your WordPress admin, go to Templates → Theme Builder from the Elementor menu.
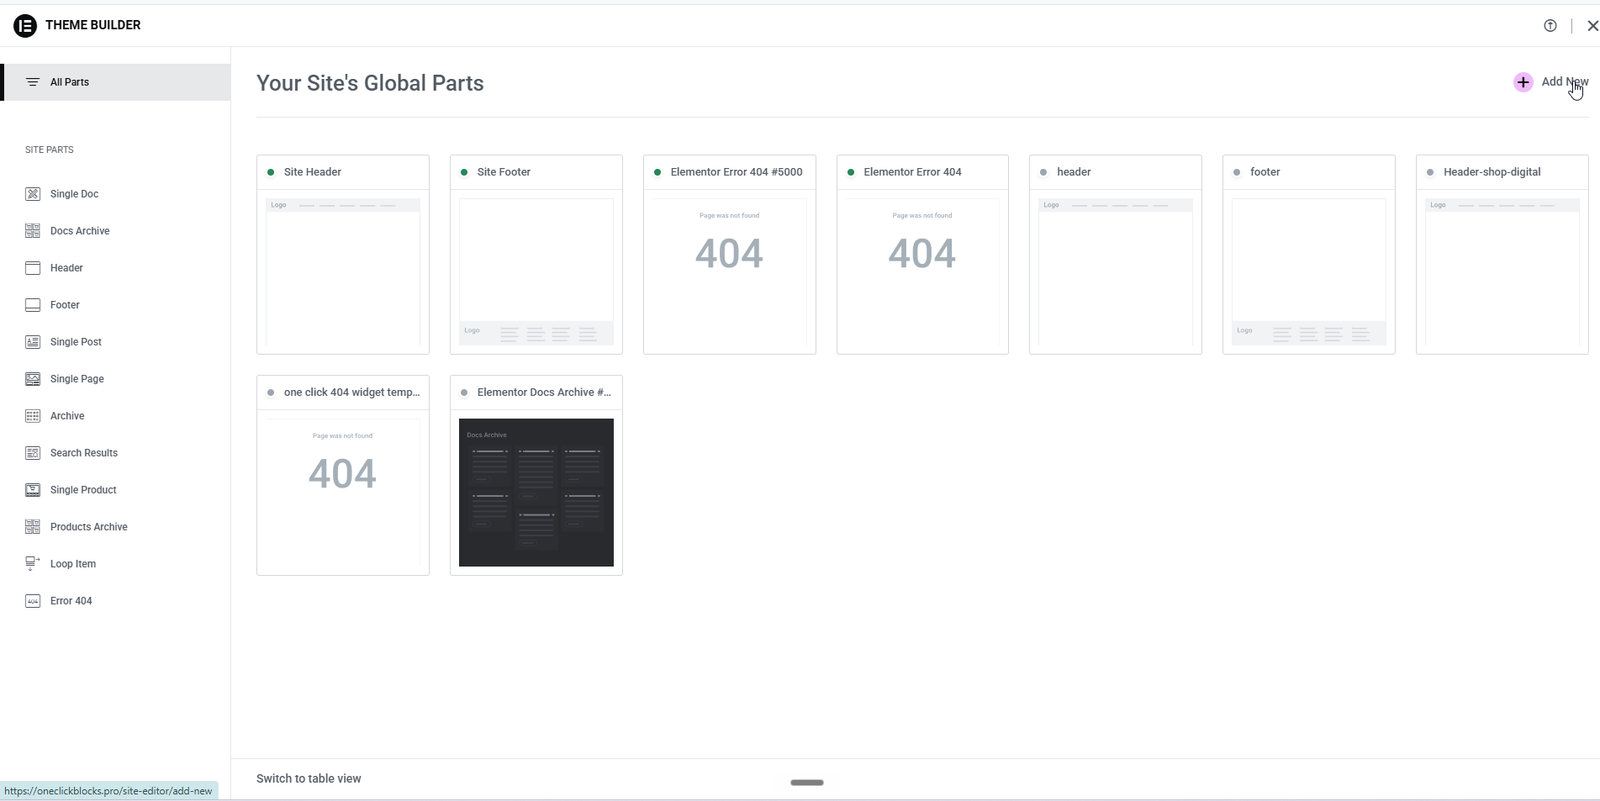
Step 3: In the Theme Builder, click Error 404 from the left sidebar under Site Parts.
Step 4: Click Add New in the top right corner to create a new Error 404 template, or click Edit on an existing template to open it in the Elementor editor.
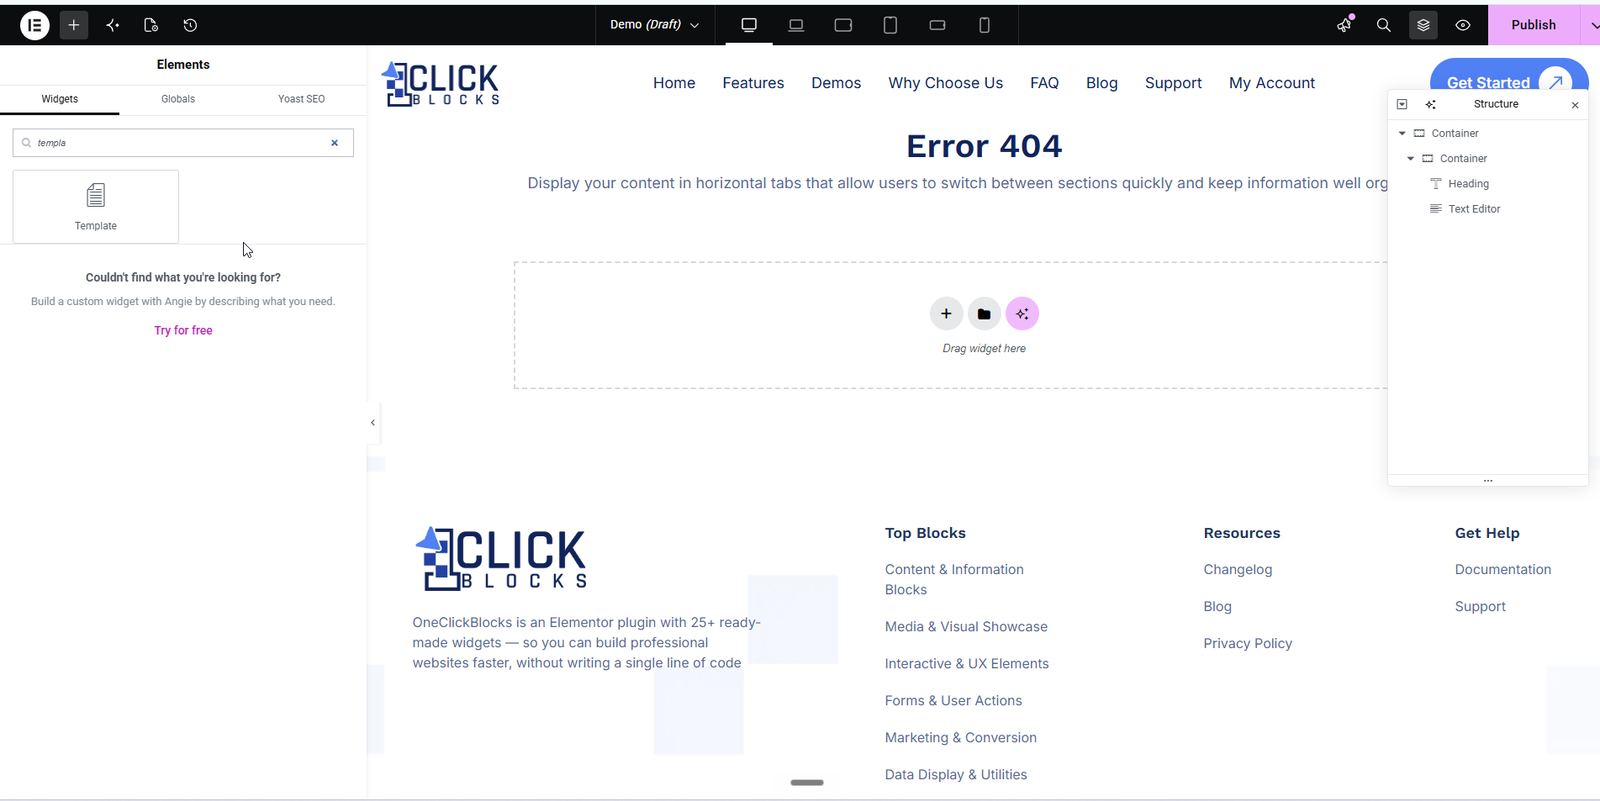
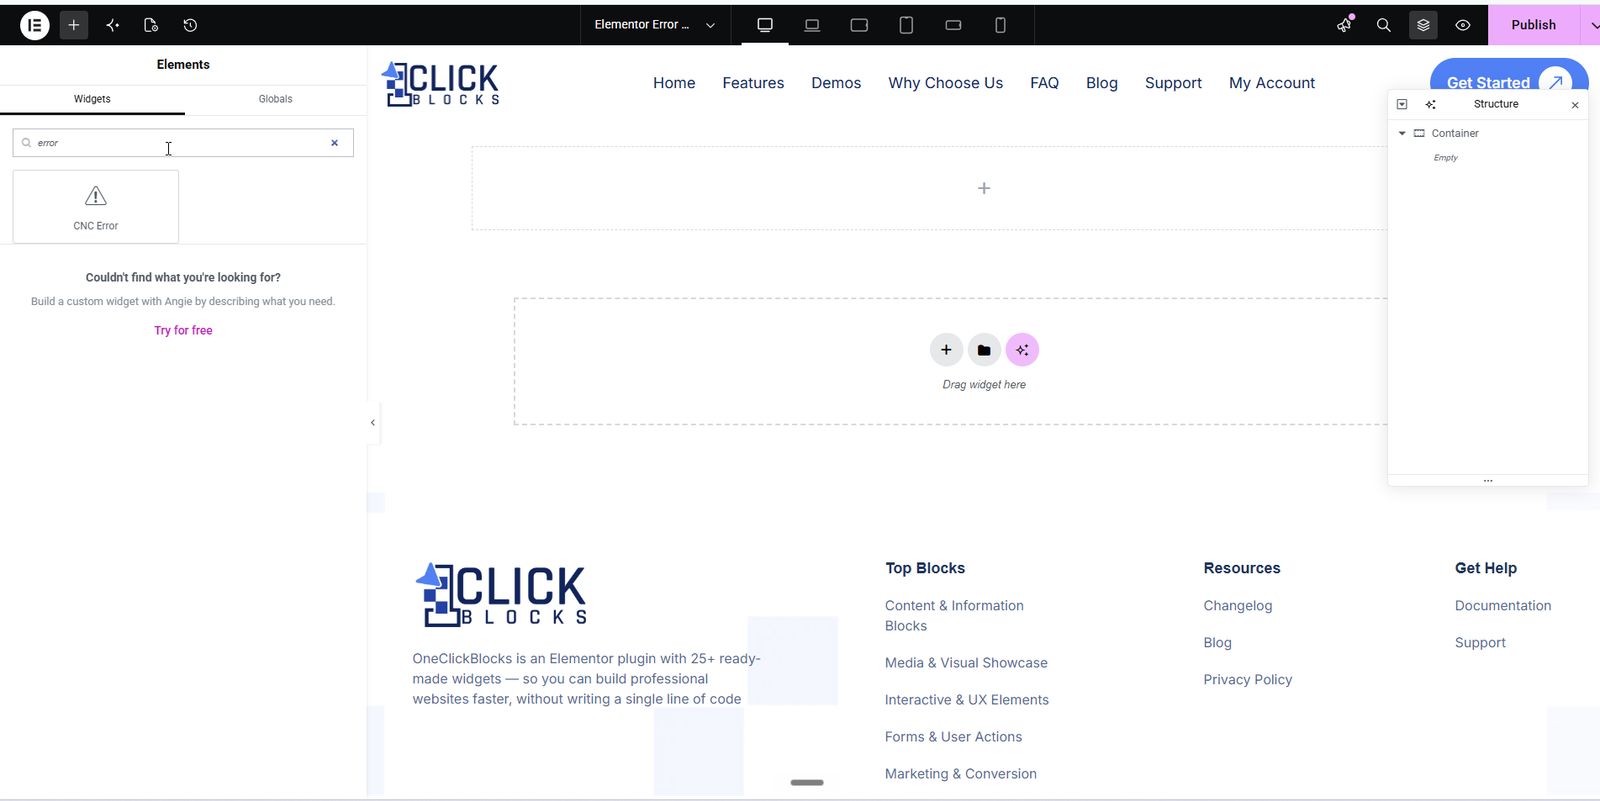
Step 5: Once inside the Elementor editor, search for CNC Error in the Search Widget field in the left panel.
Step 6: Drag the CNC Error widget and drop it into the canvas drop zone.
Step 7: After placing the widget, click Publish and set the display condition to 404 Page so it shows on all error pages across your site.
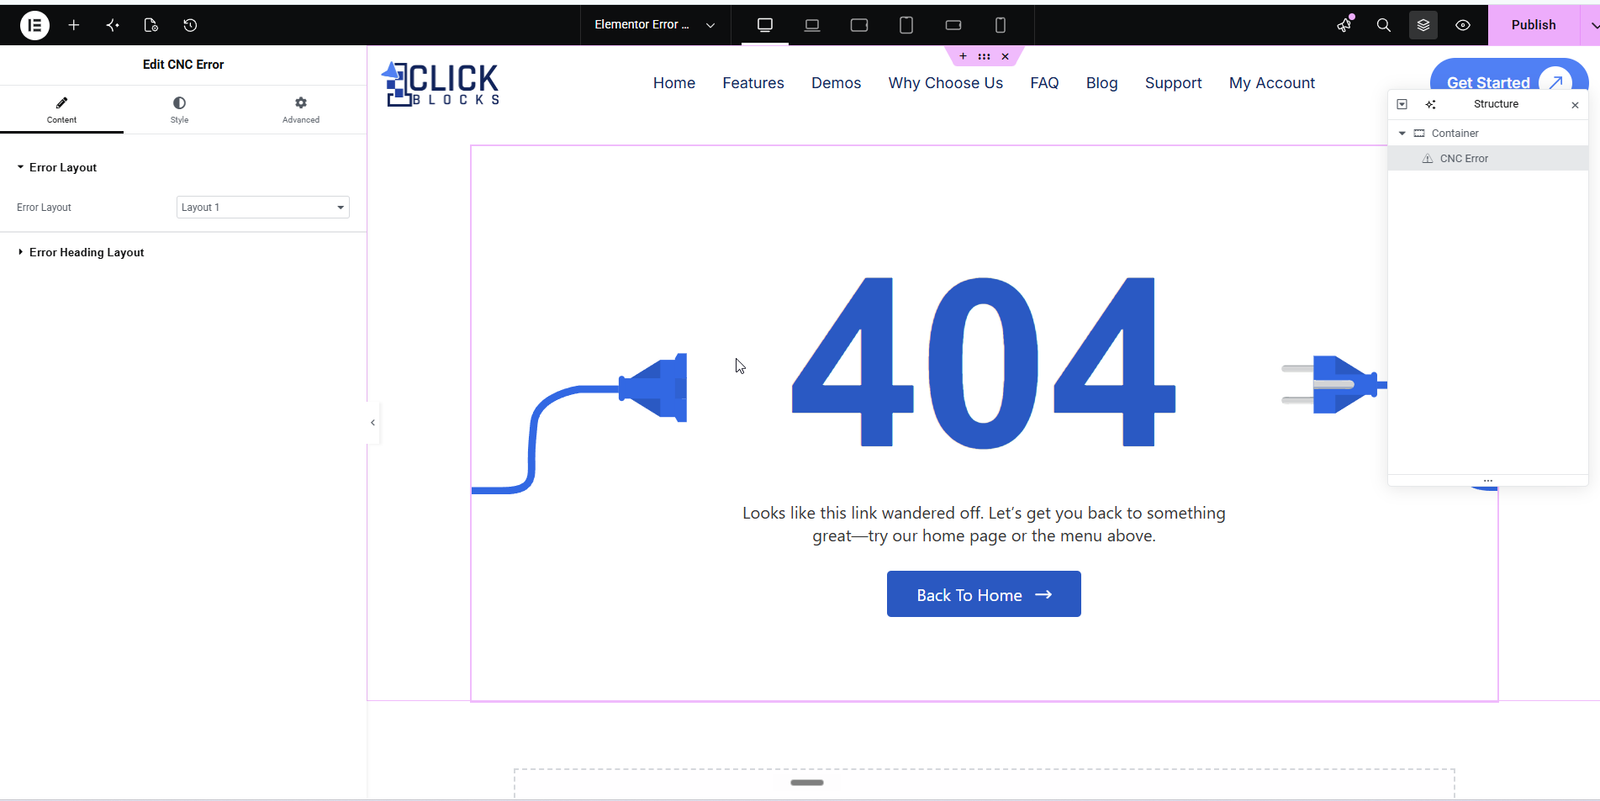
After placing the CNC Error widget, the left Elementor panel will show the Content tab with the following sections and settings:
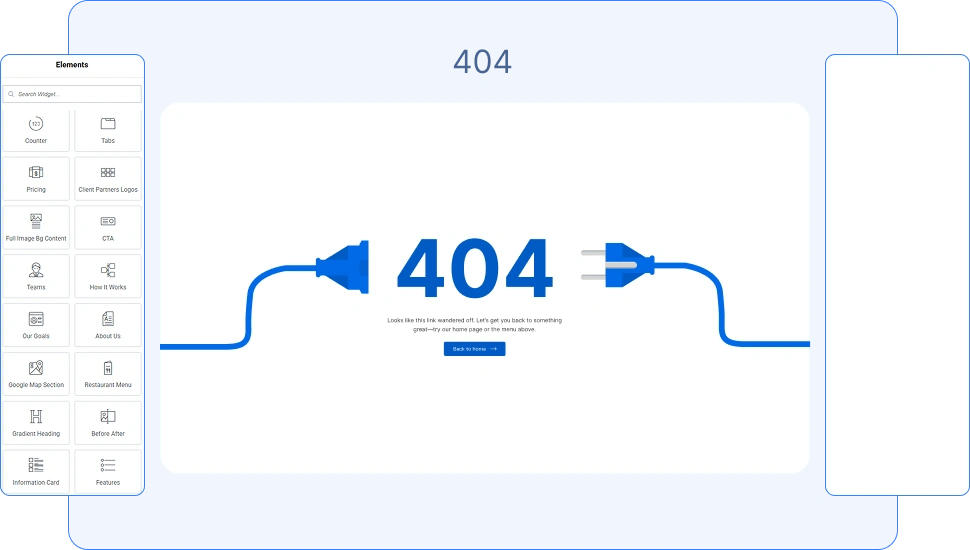
This dropdown lets you choose the overall visual design style of your 404 page. There are multiple pre-designed layouts available — for example, Layout 1 features a bold plug/cable graphic around the “404” number, Layout 2 uses a full blue background with an emoji face, Layout 3 displays a repeating scrolling “404 • 404 • 404” text effect, and Layout 5 offers a clean, minimal light-style design. Selecting a layout instantly updates the live preview on the canvas.
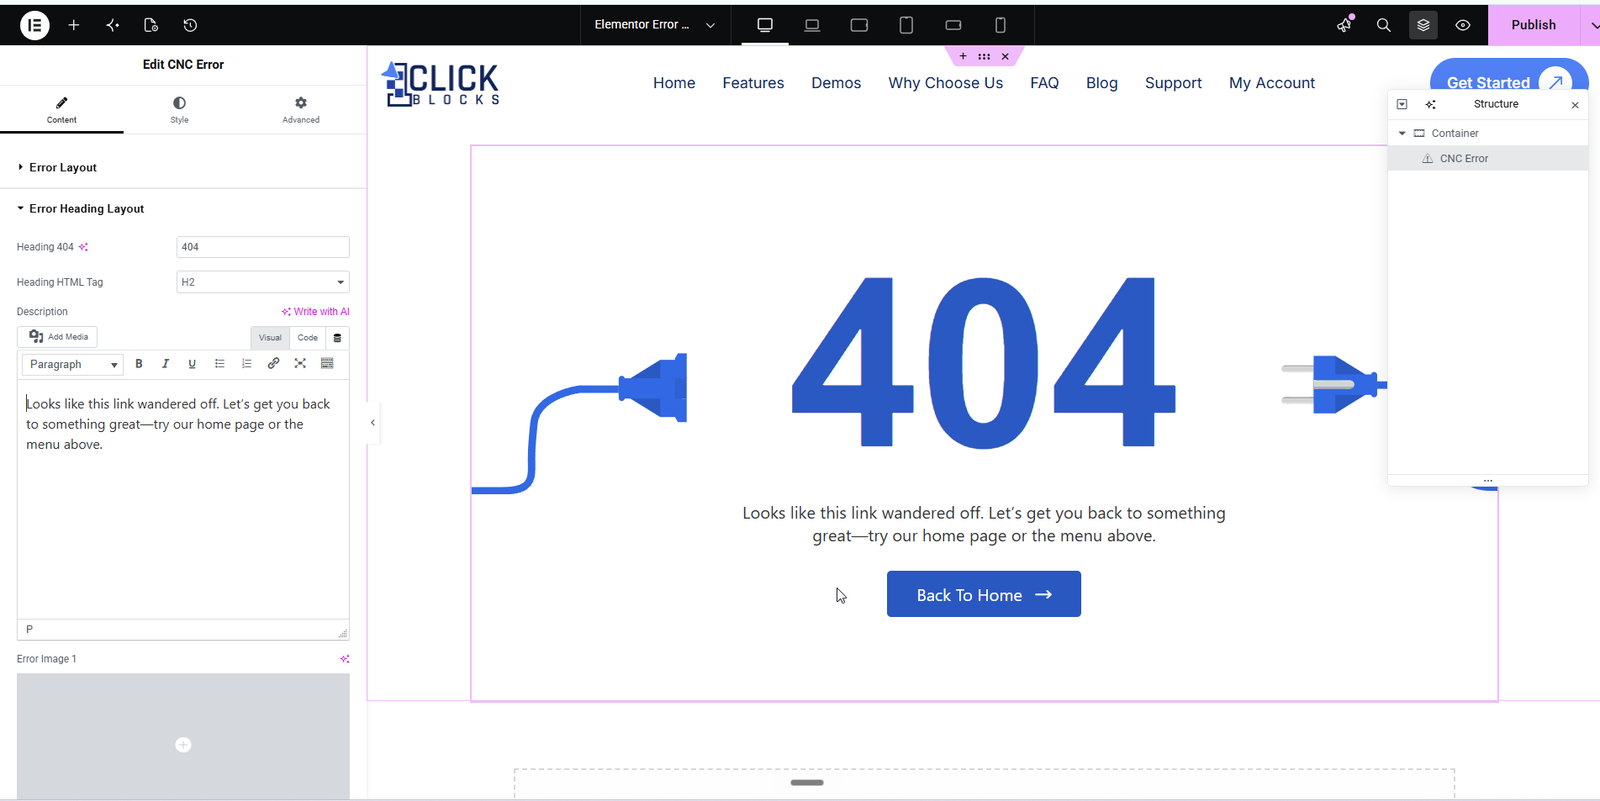
This text field controls the main large error number or heading displayed on the 404 page. By default this is set to 404, but you can change it to any text or number that fits your brand style.
This dropdown allows you to set the HTML heading tag for the main 404 number heading. Options include H1, H2, H3, H4, H5, H6, and div. Setting the correct tag is important for SEO and accessibility. The default is set to H2.
A rich-text editor field where you can enter the supporting message shown below the 404 heading. This is the body copy that guides your visitor back to the correct page. The default text reads: Looks like this link wandered off. Let’s get you back to something great—try our home page or the menu above. You can use the Visual or Code editor mode and also use the Write with AI option to generate copy automatically.
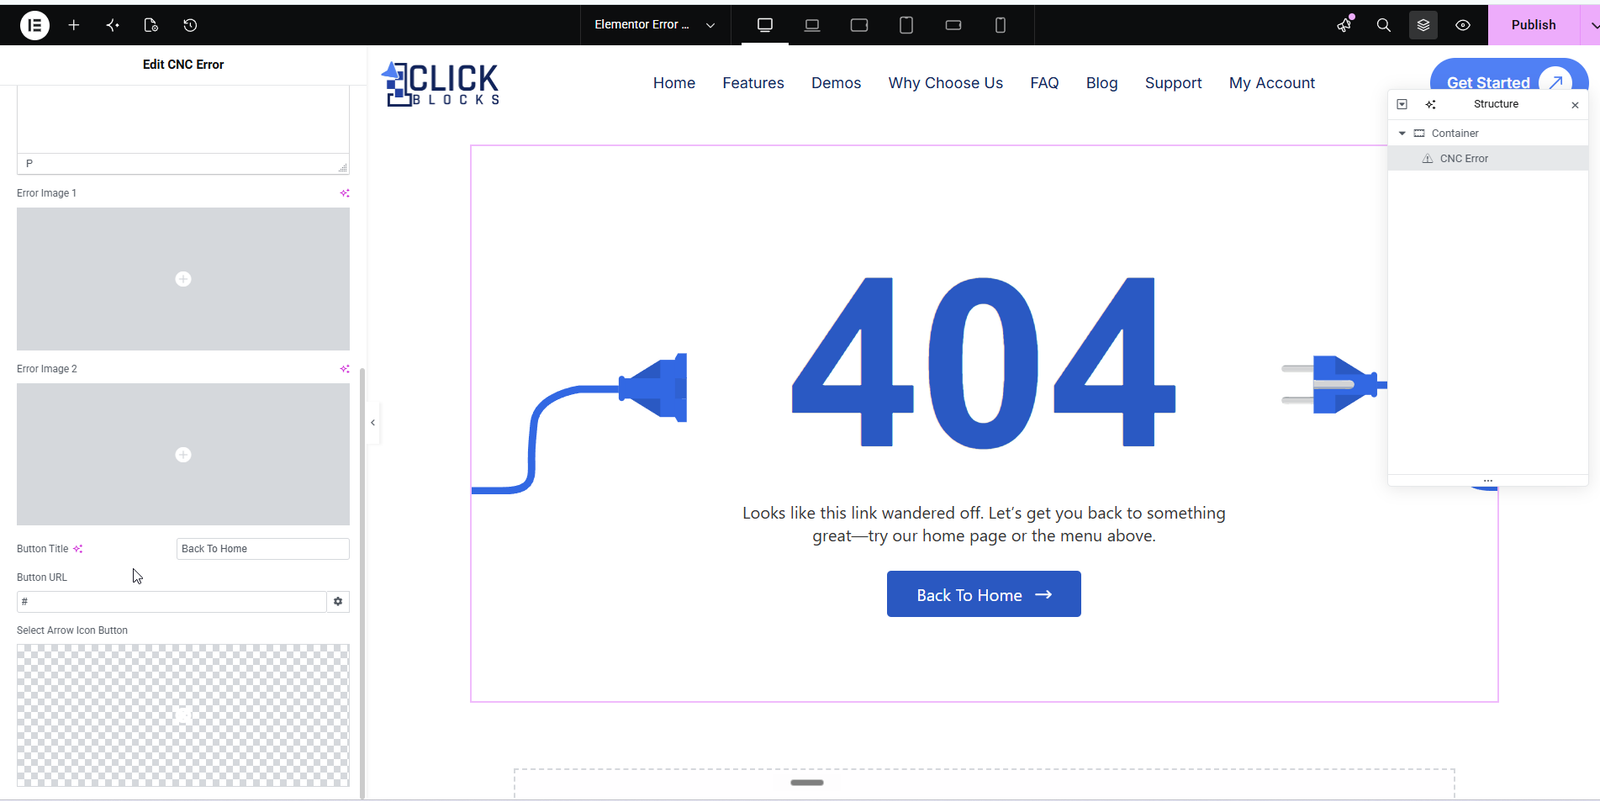
This text field sets the label on the call-to-action button displayed at the bottom of the 404 section. The default value is Back To Home. You can change this to any text such as Go to Homepage or Browse Our Products.
This URL field controls where the button links to when a visitor clicks it. Enter the full URL of the destination page, such as https://yourdomain.com. You can also set it to a relative path like / for the homepage. A link icon allows you to open additional link options including target and rel attributes.
This icon picker field allows you to choose a custom icon to display alongside the button label. By default an arrow icon (→) is shown next to the button text. Clicking this field opens the Elementor icon library where you can select any available icon or leave it blank to show no icon.
Search template widget and check template name in select field and select 404 template and publish changes.