The OneClickBlocks Before After Widget is a powerful Elementor widget that helps you showcase transformations, comparisons, and progress side by side — no coding required. Whether you’re displaying renovation results, beauty treatments, hair transplants, or product upgrades, this widget lets you present compelling before-and-after visuals with multiple layout styles and a draggable slider. It is fully responsive and designed to engage visitors across all devices.
Go to your WordPress Dashboard and navigate to OneClickBlocks → Elements. Find the Before After Widget, toggle it to Enable, and click Save Settings.
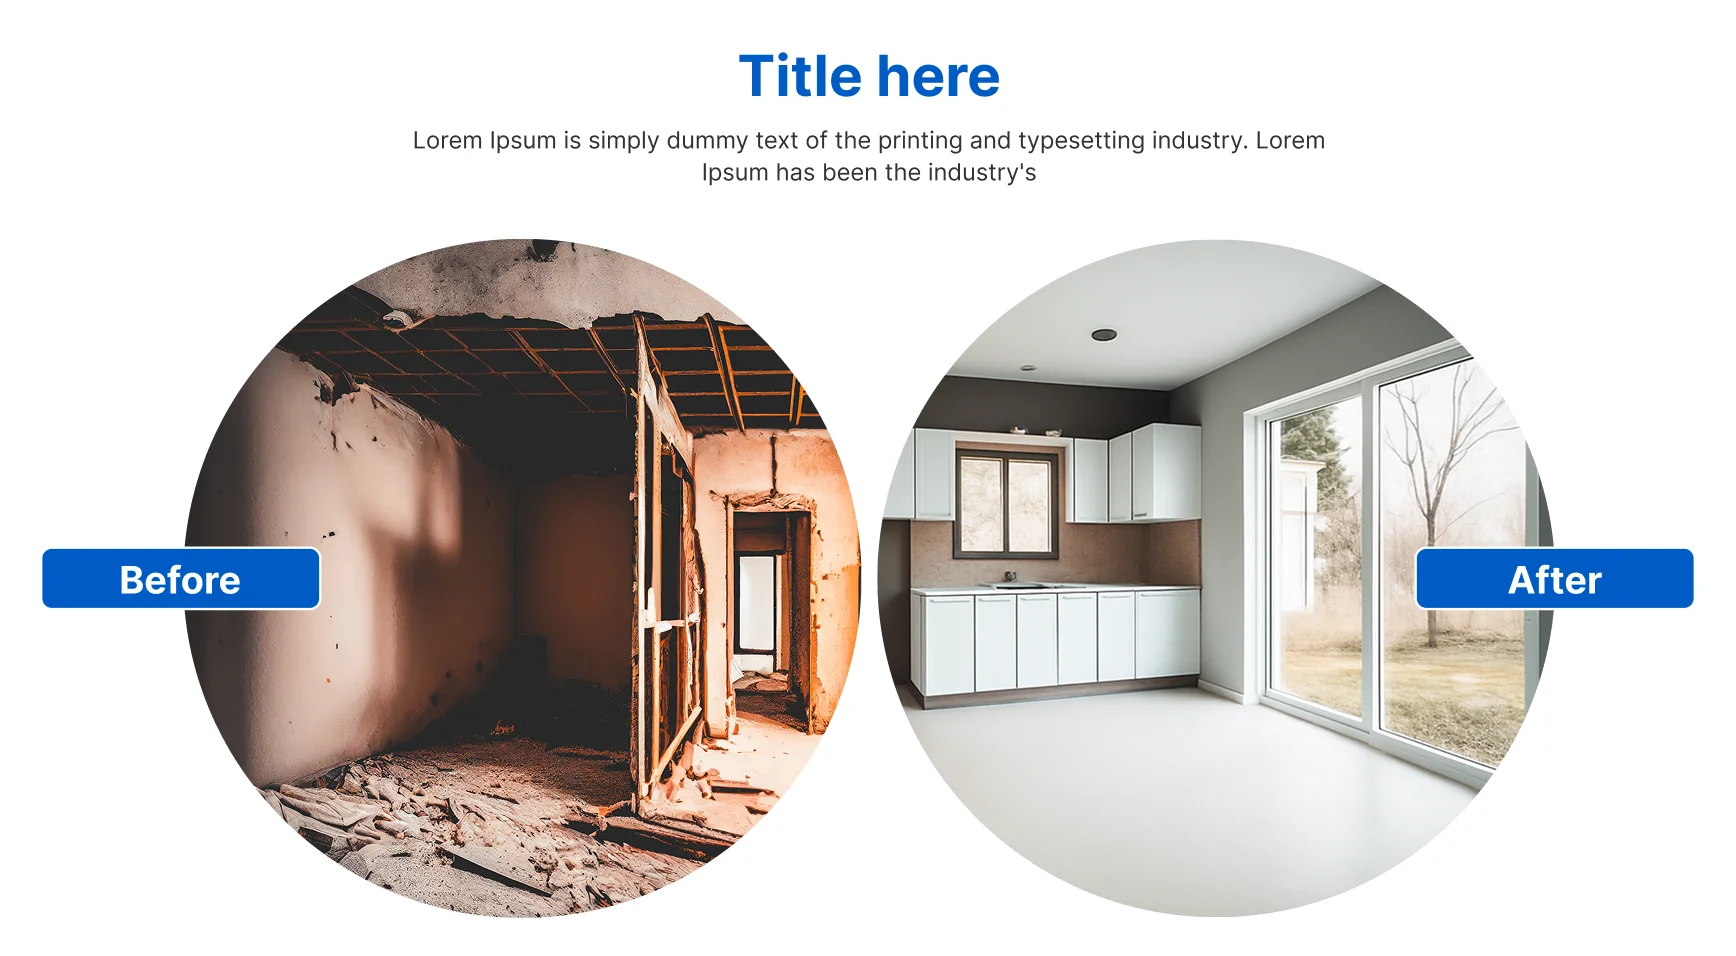
Use the Before After Layout dropdown to choose your preferred layout style. OneClickBlocks offers multiple pre-built layouts (Layout 1 through Layout 7) including a vertical slider, side-by-side cards, circular images, and horizontal slider variations. Switching layouts updates the live preview instantly without deleting your entered content.
Available in slider-based layouts. Use the Initial Position (%) slider to set the starting split position of the before-and-after images. Adjust the value between 0 and 100 to control how much of the “Before” image is visible when the widget loads.
Configure the heading and description that appear above your before-after comparison. This section includes three fields: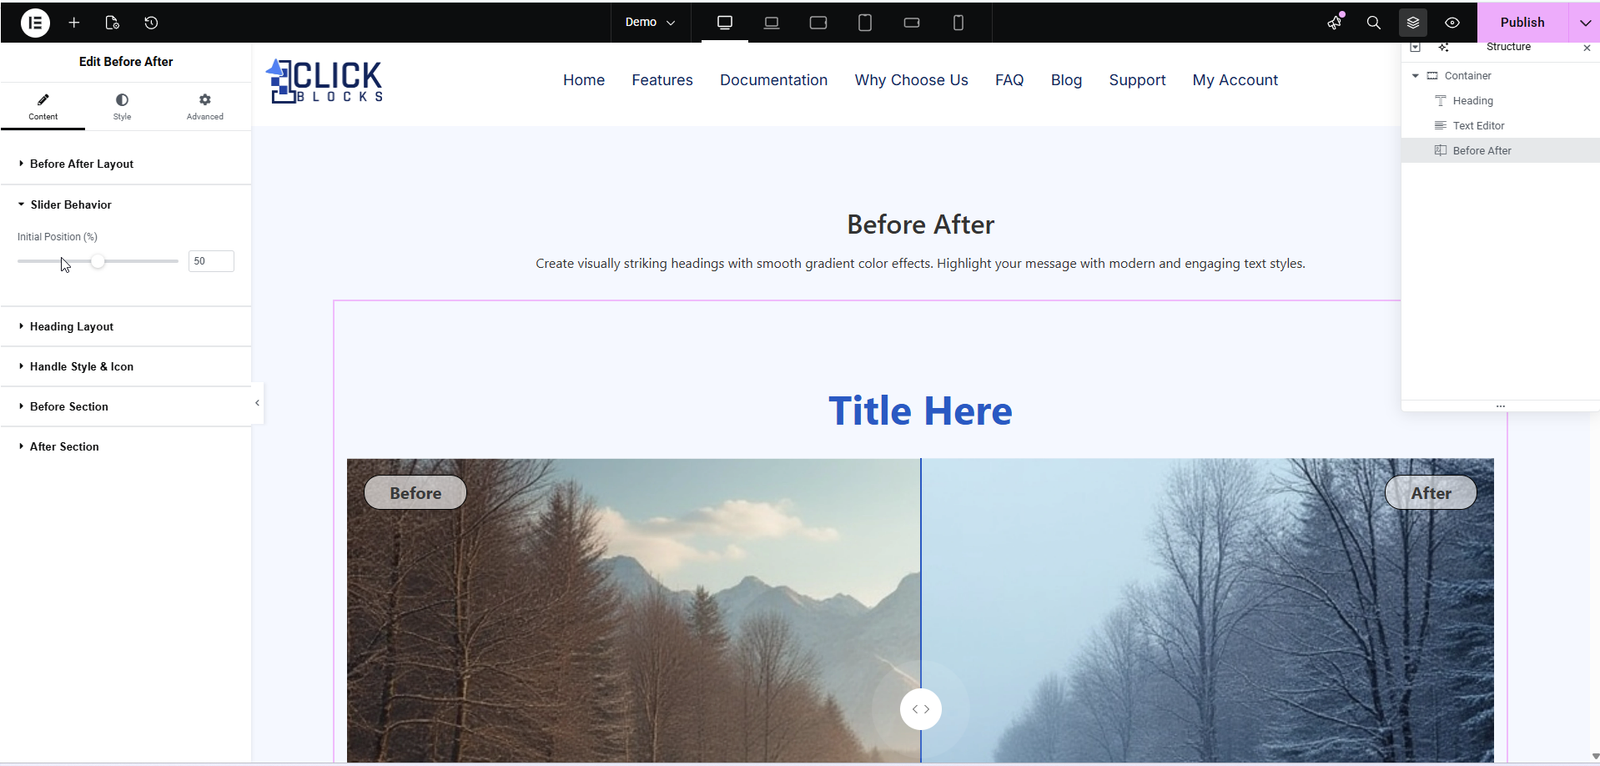
Heading — Enter the main title for your section, for example, Our Results, Before & After, or Transformation Gallery.
Heading Title HTML Tag — Choose the HTML tag for your heading. Options include H2, H3, H4, and others depending on your page structure and SEO needs.
Description — Add a short paragraph below the heading using the built-in rich text editor. You can apply bold, italic, bullet lists, and other formatting to highlight key information.
Customize the slider handle that appears between the before and after images. You can adjust the handle’s appearance, size, and optionally add a custom icon to indicate the draggable area to your visitors.
Configure the content and image for the “Before” side of your comparison. This section includes three fields:
Before Heading Title — Enter the label for the before side, typically Before.
Heading Title HTML Tag — Select the HTML tag for the before label, such as H3 or H4.
Before Image — Upload the “before” image. This is the image that represents the starting state or original condition in your comparison.
Configure the content and image for the “After” side of your comparison. This section includes four fields:
After Heading Title — Enter the label for the after side, typically After.
Heading Title HTML Tag — Select the HTML tag for the after label, such as H3 or H4.
After Description — Add a description for the after side using the rich text editor. This is useful for explaining the results or changes shown in the after image.
After Image — Upload the “after” image. This is the image that represents the final state or transformed condition in your comparison.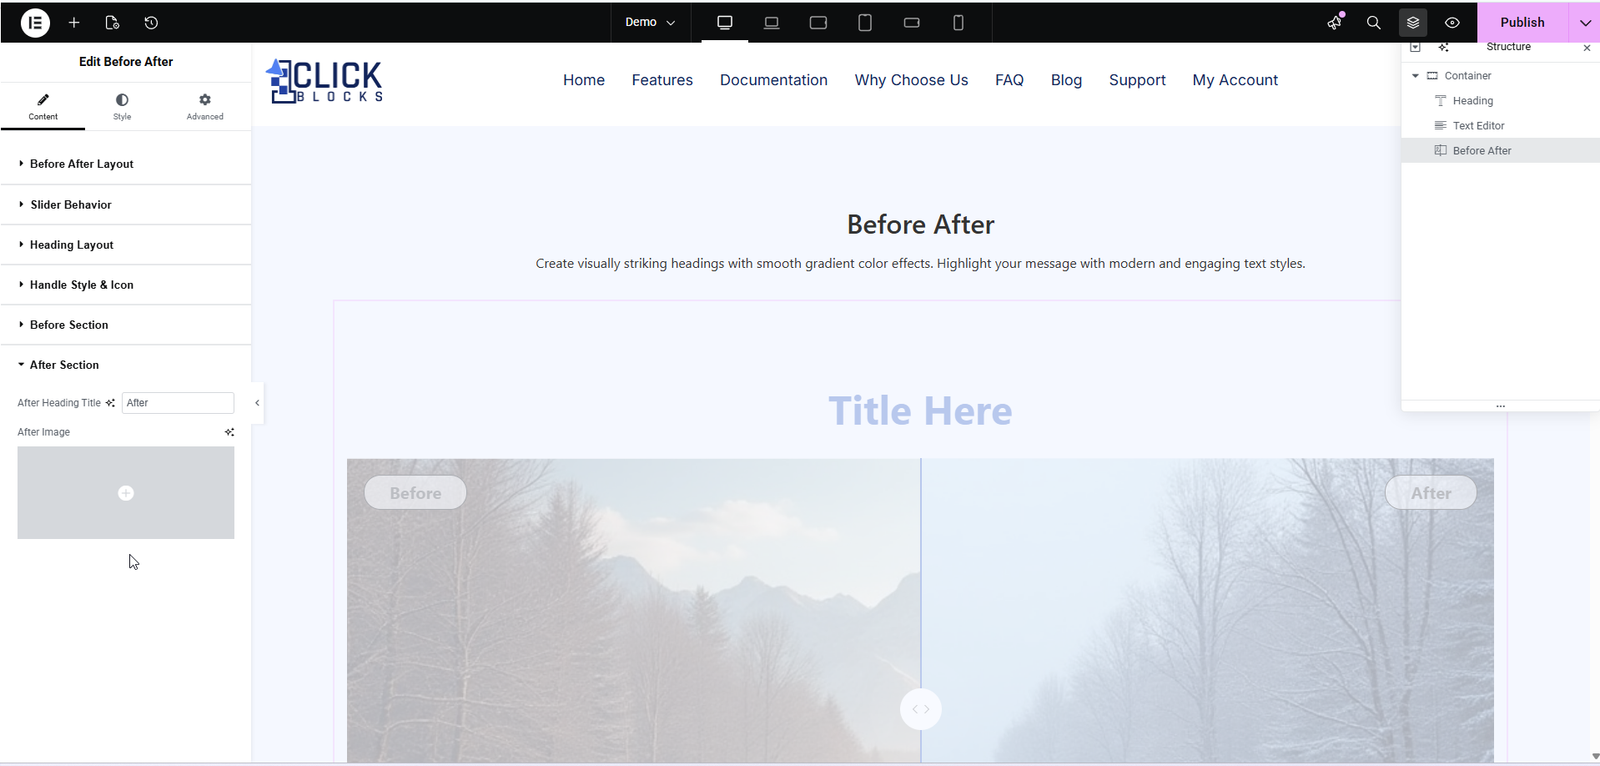
Available in Layout 3. This section allows you to define separate content blocks for both the before and after images. It includes:
Comparison — A dropdown to set the comparison direction, such as Before → After.
Before Content — Enter a Title, add a Description using the rich text editor, and upload a Before Image.
After Content — Enter a Title, add a Description using the rich text editor, and upload an After Image.
Available in Layout 3. Customize the navigation icons that appear on the left and right sides of the before-after cards. You can change the icon style, size, and position to match your site’s design.