The Title Tips Widget by OneClickBlocks is a powerful Elementor widget that lets you display a visually engaging list of services, features, or informational items — each paired with a title, description, image, and optional link. With multiple pre-built layout options and full style customization, the Title Tips widget is ideal for building service sections, feature highlights, or categorized content blocks on any WordPress page.
Before using the Title Tips widget in Elementor, you need to enable it from the OneClickBlocks settings panel. Follow these steps:
Step 1: Log in to your WordPress Dashboard.
Step 2: In the left sidebar, navigate to OneClickBlocks > Elements.
Step 3: Locate the Title Tips widget in the list and toggle it to Enable.
Step 4: Click Save Changes to apply.
Step 5: Open any page in the Elementor Editor.
Step 6: In the Elementor left panel, click the search bar and type Title Tips.
Step 7: Drag and drop the Title Tips widget into your desired section or container on the canvas.
The widget will be added to your page and the Edit Title Tips settings panel will open automatically on the left.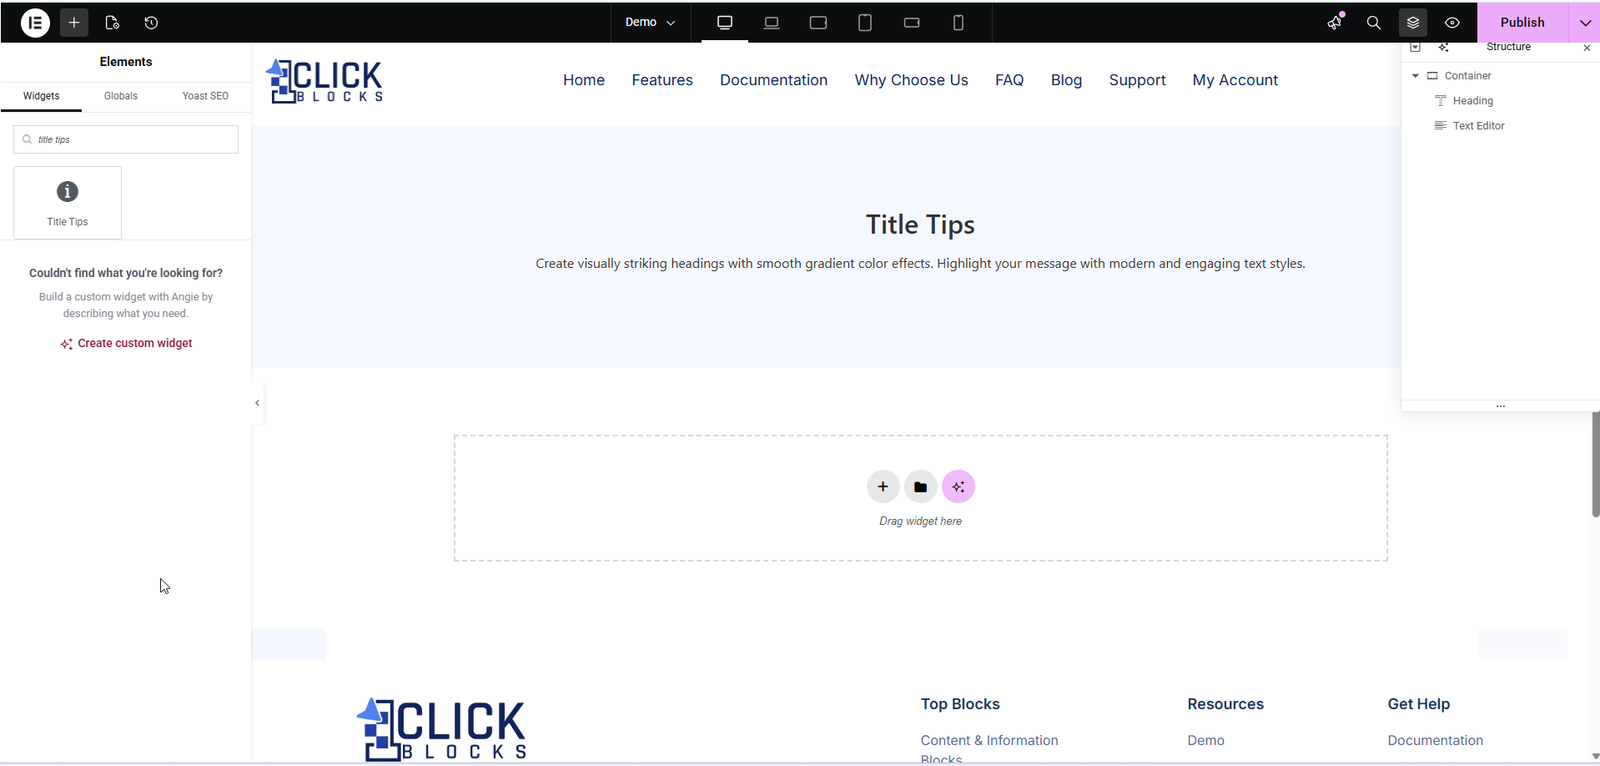
Once the widget is placed on the canvas, click on it to open the Edit Title Tips panel. Navigate to the Content tab to configure all content settings described below.
Select the overall display layout for the widget using this dropdown. Multiple layout options are available — for example, Layout 1, Layout 2, and Layout 3. Each layout changes how the items, images, titles, and descriptions are arranged on the page. Choose the layout that best suits your page design.
This section controls the background image, section heading, and all individual service/feature items within the widget.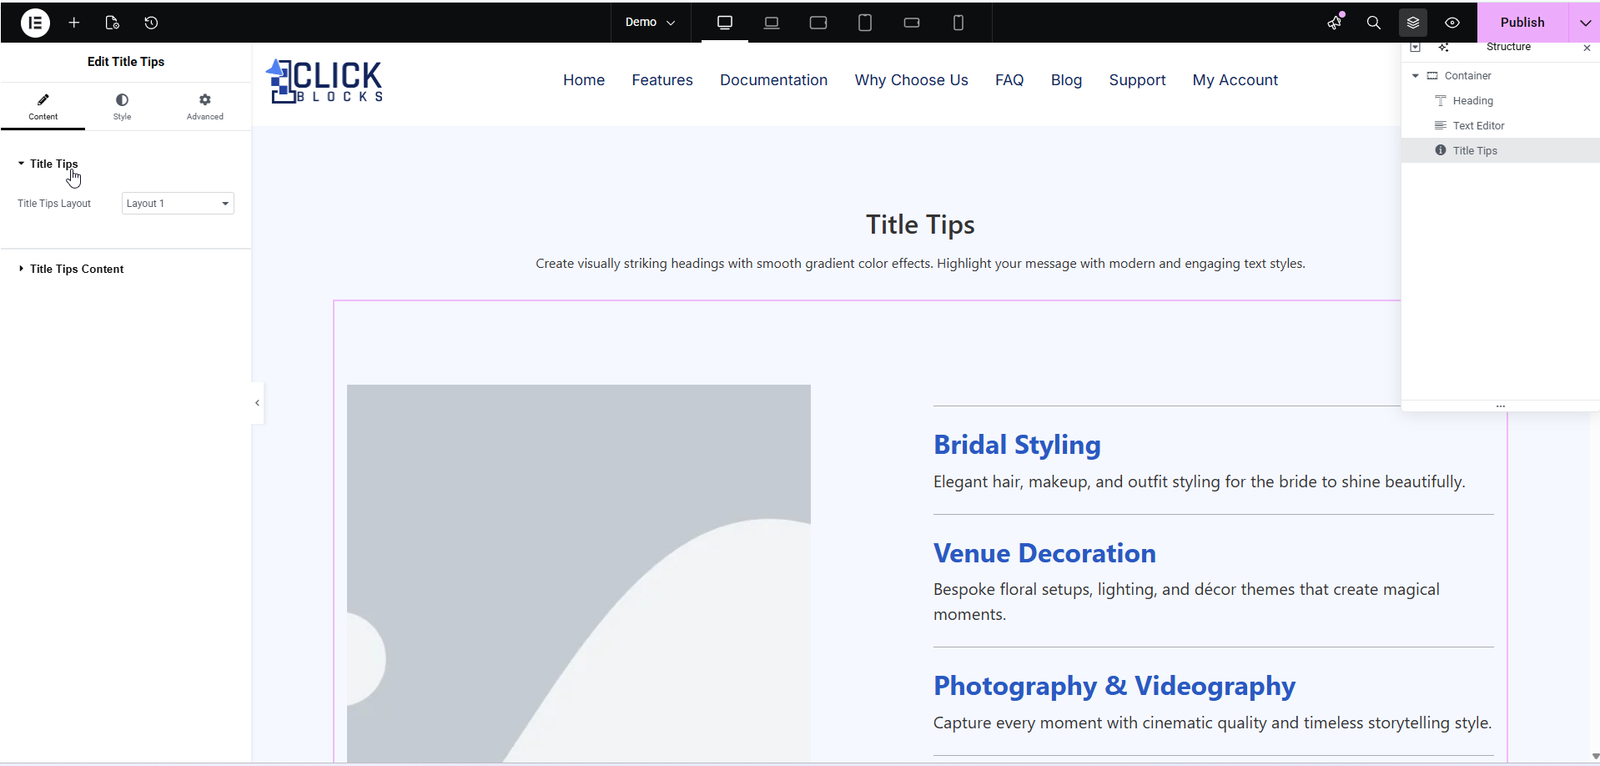
Select the HTML heading tag to use for the section heading. The available options include H1, H2, H3, and so on. Choose the appropriate heading level based on your page structure and SEO requirements. By default this is set to H2.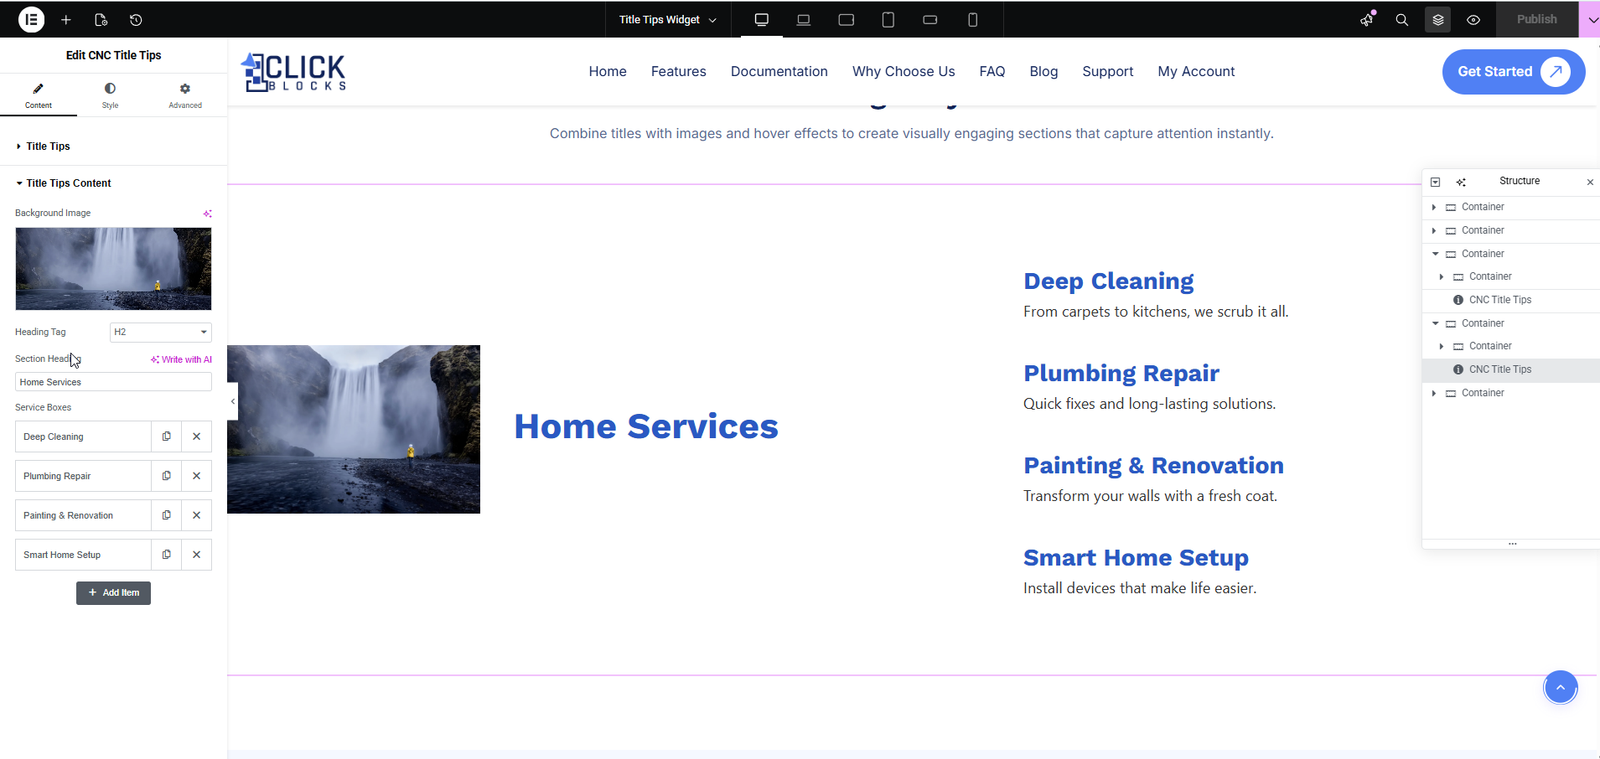
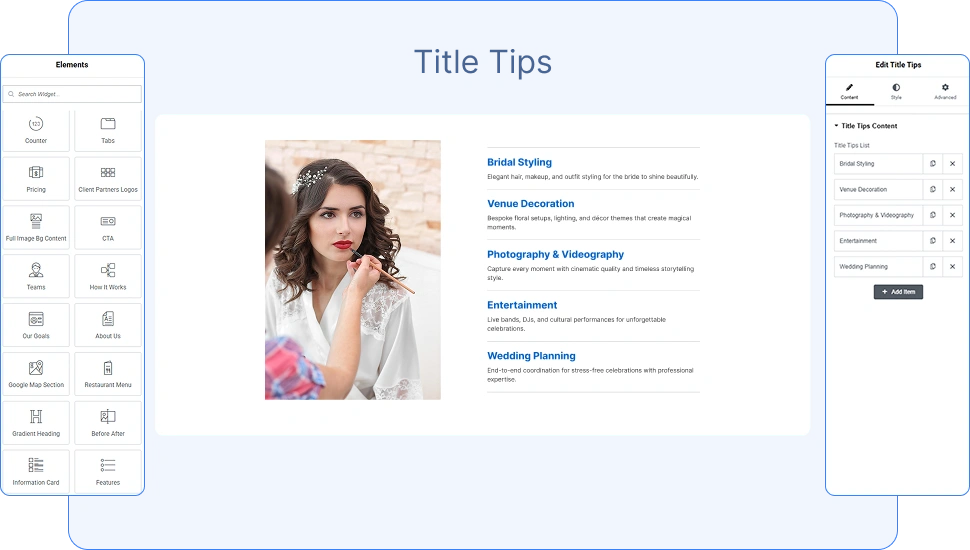
Enter the main heading text for the Title Tips section. This appears as the prominent title above or alongside the list of items. For example, enter Home Services or Our Wedding Packages to describe the category of items being displayed.
This is a repeater field that holds all the individual items displayed in the widget. Each item in the list represents one service, feature, or informational entry. You can add, reorder, or remove items using the controls provided. Click the + Add Item button to insert a new entry. Each item contains the following sub-fields: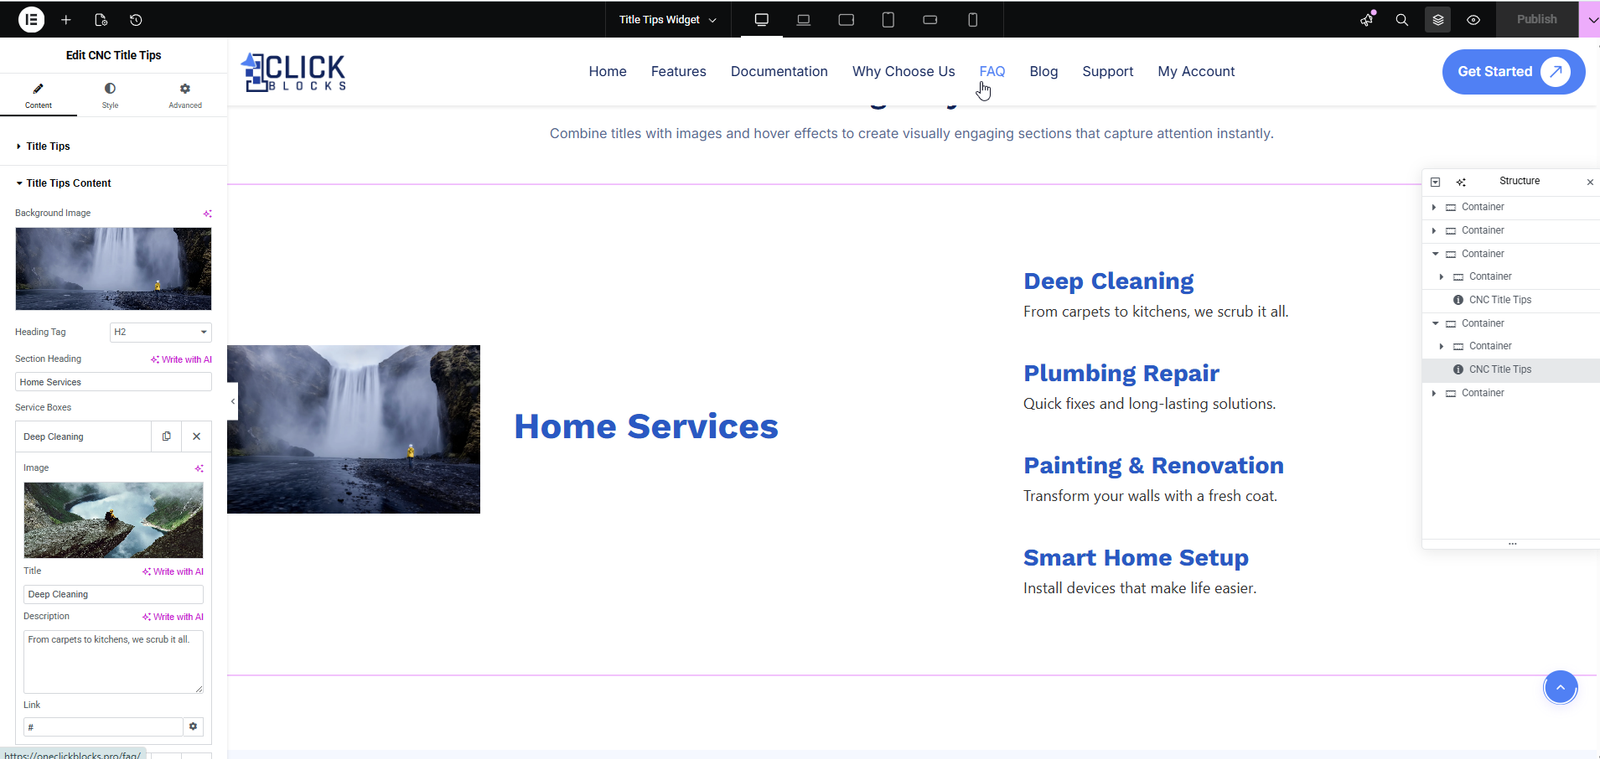
Enter the name or heading for this specific item. This text is displayed prominently as the item label. For example, Bridal Styling, Deep Cleaning, or Photography & Videography.
Enter a short descriptive text for the item. This appears below or beside the title to provide additional context. For example, Elegant hair, makeup, and outfit styling for the bride to shine beautifully or From carpets to kitchens, we scrub it all.
Upload or select an image from the Media Library to associate with this specific item. This image is displayed alongside the item’s title and description. Click the image area or the upload icon to open the WordPress media picker and choose your desired image.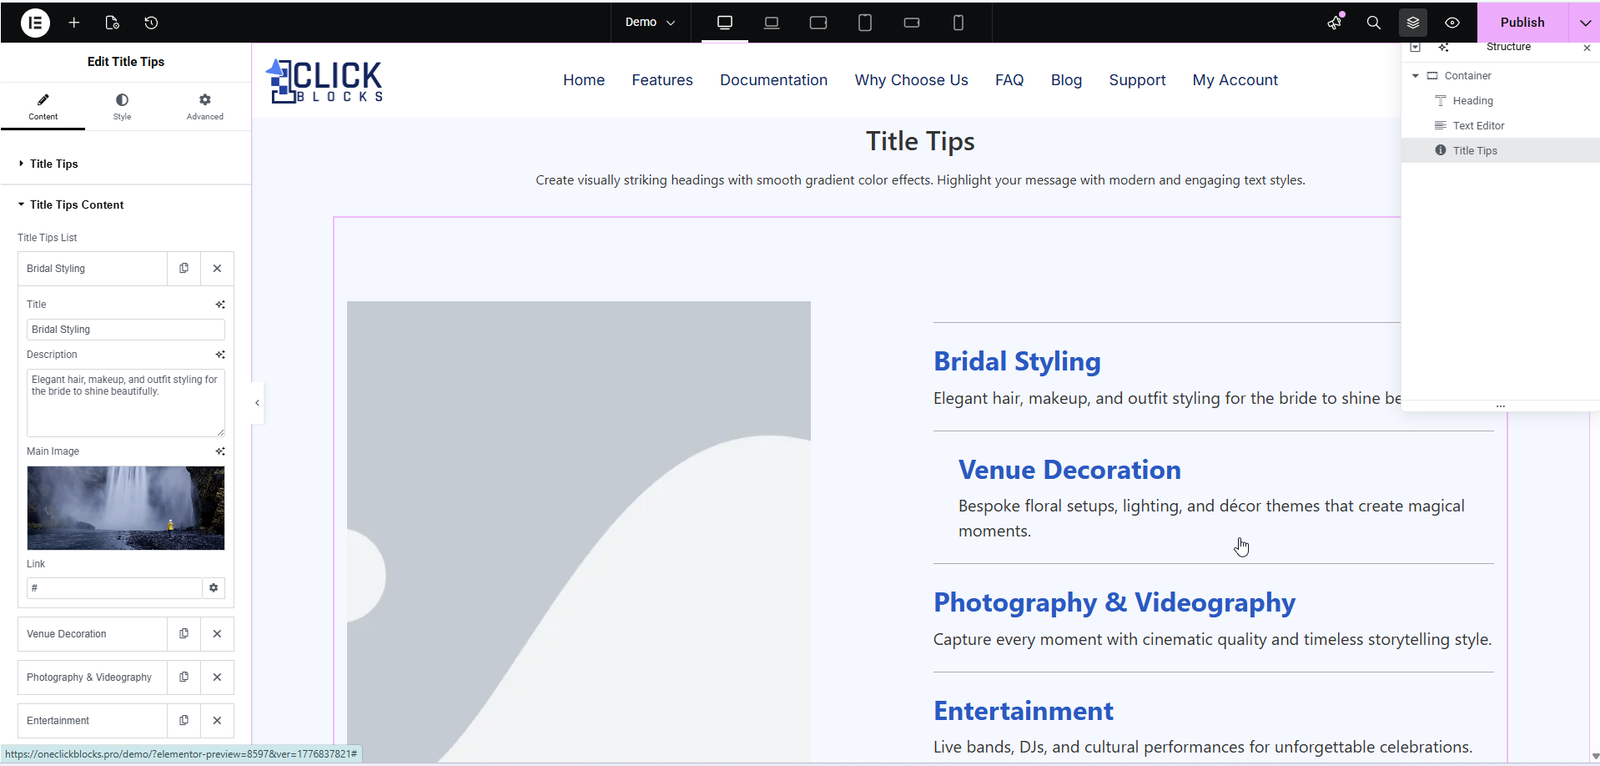
Set an optional URL link for the item. When a link is provided, the item or its arrow button becomes clickable and directs visitors to the specified page. Enter a full URL such as https://yoursite.com/services/bridal-styling, or use # as a placeholder if no link is needed yet. You can also configure link settings such as opening in a new tab using the gear icon beside the link field.