
The Google Map Section widget from OneClickBlocks is a powerful Elementor widget that lets you embed an interactive Google Map on your website along with beautifully styled contact information cards. Whether you want to display your office location, show directions, or provide contact details in an engaging layout, this widget offers multiple pre-designed layouts to match your site’s design. It is fully customizable from within the Elementor editor — no coding required.
Step 1: Open the page in the Elementor editor where you want to add the Google Map section.
Step 2: In the Elementor left panel, click on the Plus (+) icon to create a new section if one does not already exist.
Step 3: In the widget panel on the left, navigate to the OneClickBlocks category (or search for “Google Map Section” in the search bar).
Step 4: Drag and drop the Google Map Section widget into the content area of your page.
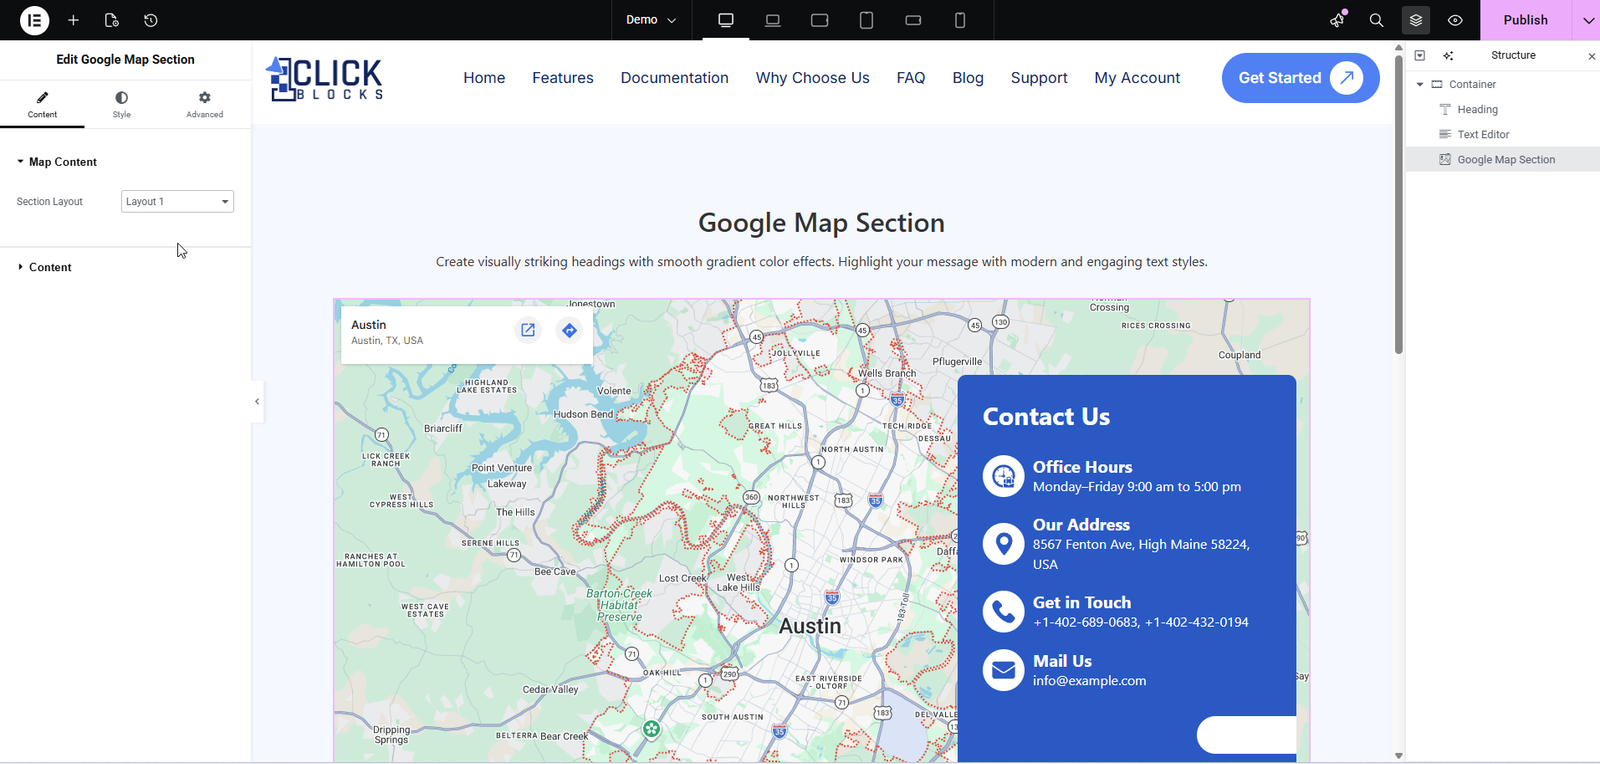
Step 5: The widget will appear with its default layout and settings. You can now customize all content, layout, and style options directly from the left panel.

The Section Layout dropdown allows you to choose from multiple pre-designed layout styles for displaying the map and contact information. Each layout offers a unique arrangement of the map embed and contact card elements. Simply select the layout that best fits your page design from the dropdown options (e.g., Layout 1, Layout 2, Layout 3, etc.).
The Direction Map Section is a toggle switch that enables or disables the interactive map section. When turned ON, the Google Map will be displayed on the page. When turned OFF, only the contact information cards will be shown without the map. This is useful if you want to hide the map temporarily while keeping the contact details visible.
The Map Type dropdown lets you choose the method used to embed the Google Map. The default option is iframe, which uses Google Maps’ embed iframe code. This is the easiest and most reliable method for most users — simply paste the embed code from Google Maps directly into the field provided.
The Embed Google Maps URL is a large text area where you paste the full iframe embed code from Google Maps. To get this code, go to Google Maps, search for your business location, click “Share,” then select “Embed a map,” and copy the iframe HTML code. Paste it into this field, and the widget will automatically render the map in your chosen layout.
The Dynamic Direction Title field allows you to enter the heading text that appears above the contact information cards. For example, you can set this to “Contact Us” or “Get in Touch” to introduce the contact details section. This heading is displayed prominently on the contact card side of the layout.
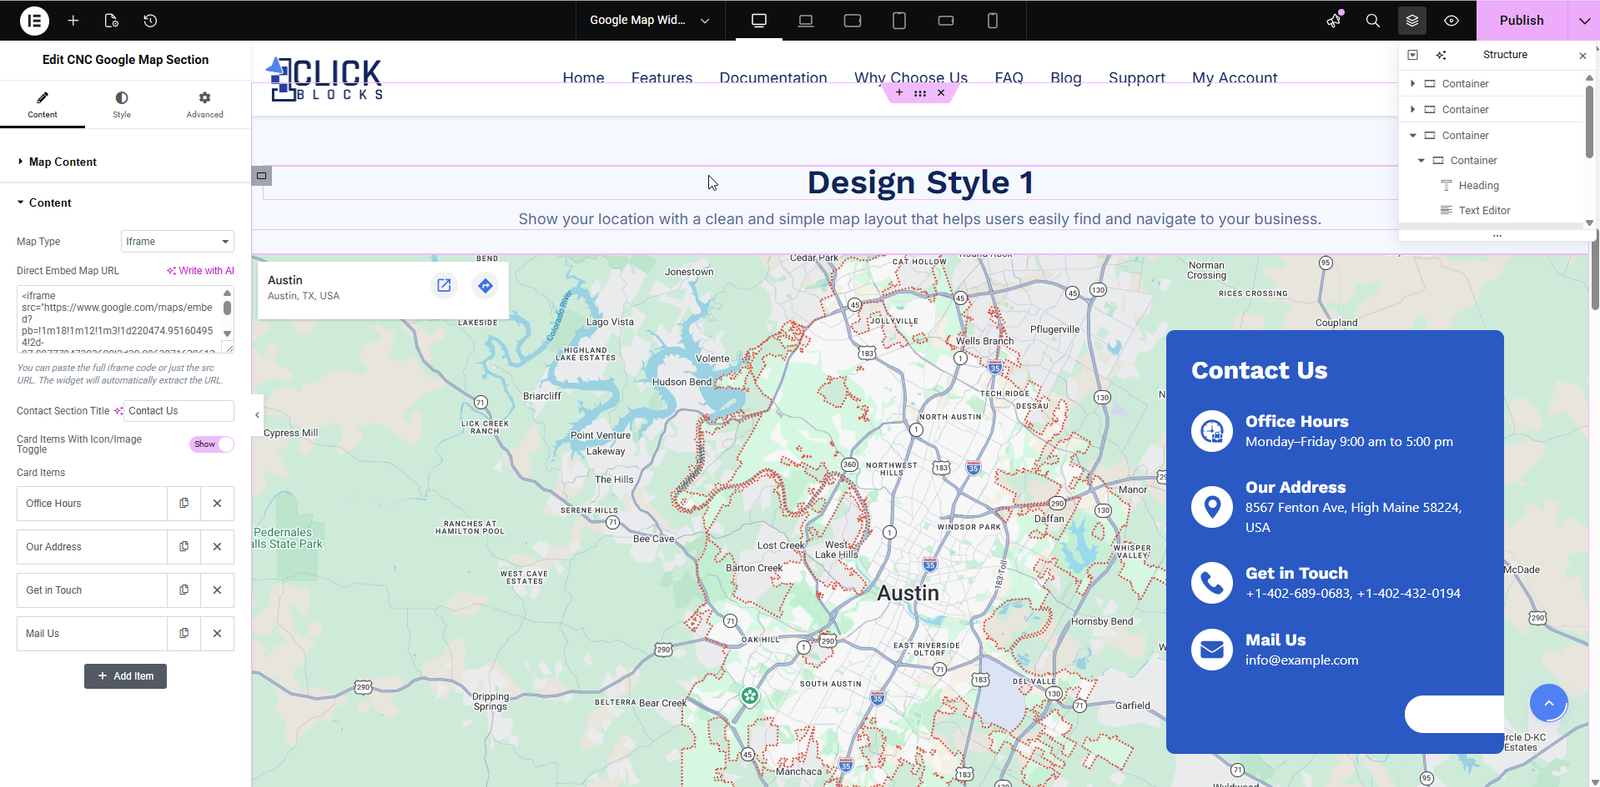
The Card Items with Icon/Image toggle controls whether the contact information cards display icons alongside the text. When turned ON, each card item will show a relevant icon (such as a clock for office hours, a location pin for address, a phone for contact numbers, and an envelope for email). This enhances the visual appeal and helps visitors quickly identify each piece of information.
The Card Items is a repeater list where you can add, edit, or remove individual contact information cards. By default, the widget comes with four pre-filled items:
>Office Hours — Displays your business operating hours.
>Our Address — Shows your physical office or store address.
>Get in Touch — Displays phone numbers or other contact methods.
>Mail Us — Shows your email address.
Each card item can be edited individually by clicking on it to expand its settings, or removed using the delete (X) icon. You can also add new card items using the Add Item button.
The Card Icon Type dropdown determines whether the card uses a built-in content icon or a custom image/icon. The default option is Content, which uses pre-defined SVG or CSS-based icons matched to the card’s purpose.
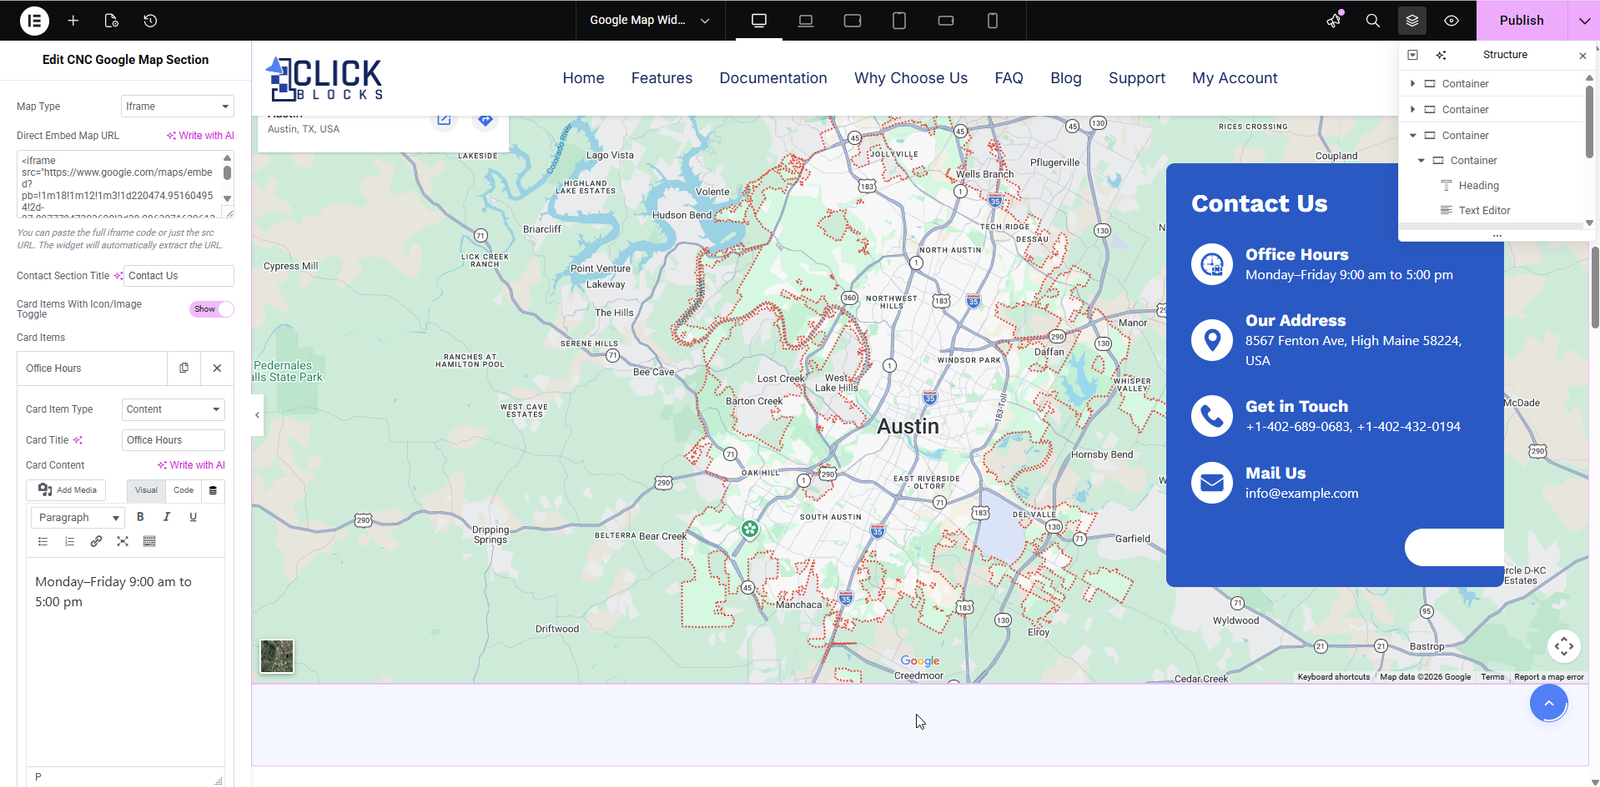
The Card Title field lets you enter the heading text for the individual card item. For example, for the office hours card, this might be “Office Hours”. This title appears in bold at the top of the contact card.
The Card Content field is a rich text editor (WYSIWYG) where you can enter the body text for the card. You can format the text using the toolbar options including bold, italic, links, and alignment. For the office hours card, you might enter something like “Monday–Friday 9:00 am to 5:00 pm”.
