The OneClickBlocks Gallery Widget is a powerful Elementor widget that lets you create stunning image galleries in multiple layouts — including grid, slider, marquee, and masonry — without writing a single line of code. With built-in category filters, lightbox previews, and multiple pre-designed layouts, you can showcase your portfolio, product photos, travel images, or brand visuals in a fully responsive and engaging way on any device.
Go to your WordPress Dashboard and navigate to OneClickBlocks → Elements. Find the Gallery (Marquee, Slider, Masonry) Widget, toggle it to Enable, and click Save Settings. Next, open any page in the Elementor Editor. Search for “Gallery” in the widget search bar, then drag and drop it onto your page canvas. The Edit Gallery Module panel will open with Content, Style, and Advanced tabs.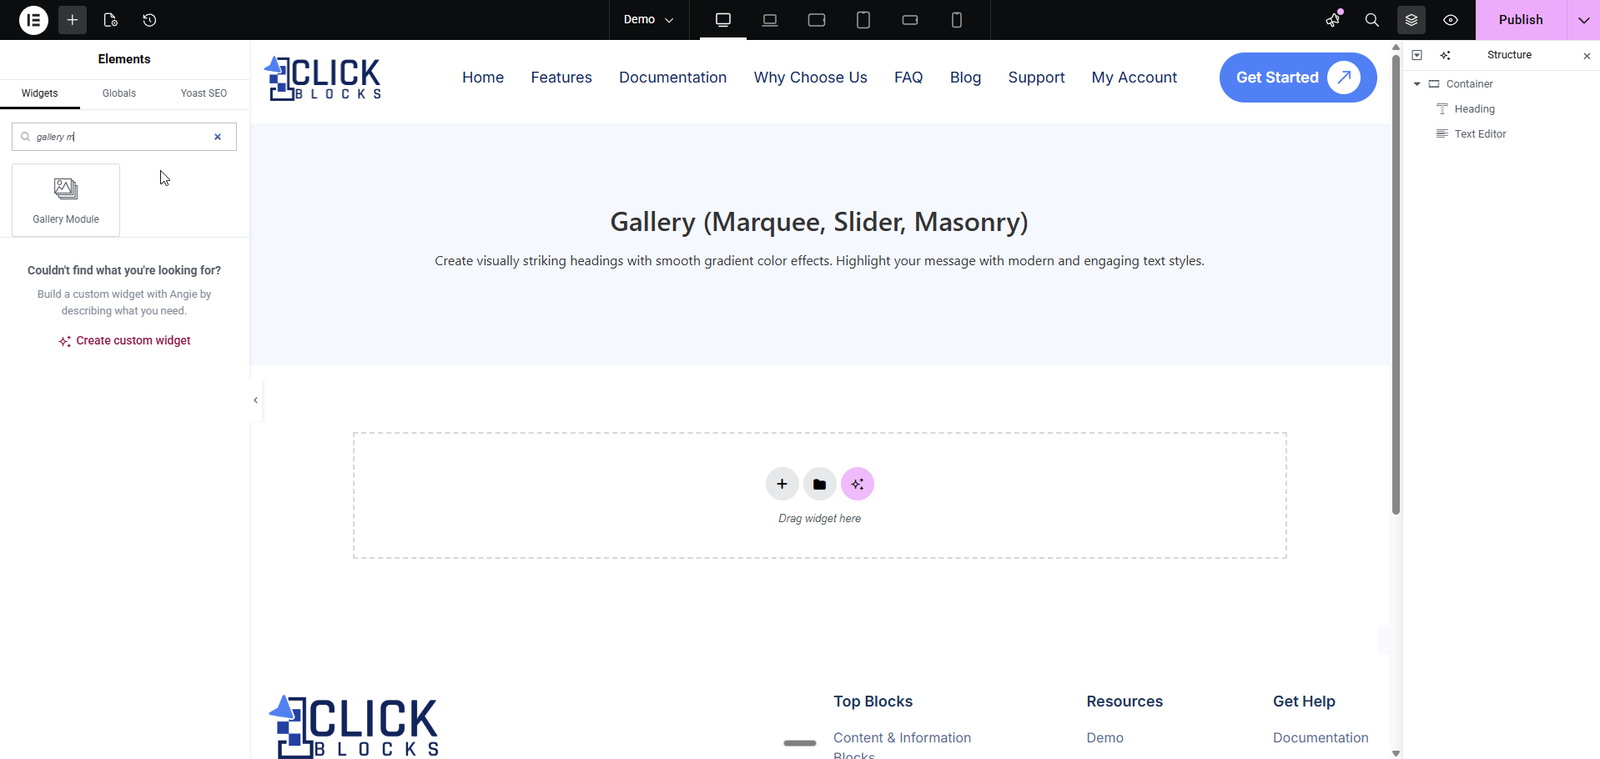
Select the layout style for your gallery from the dropdown menu. The Gallery Widget offers 7 pre-built layouts:
>Layout 1 — Grid layout with image and description per item
>Layout 2 — Horizontal slider/carousel with navigation arrows
>Layout 3 — Alternate slider layout
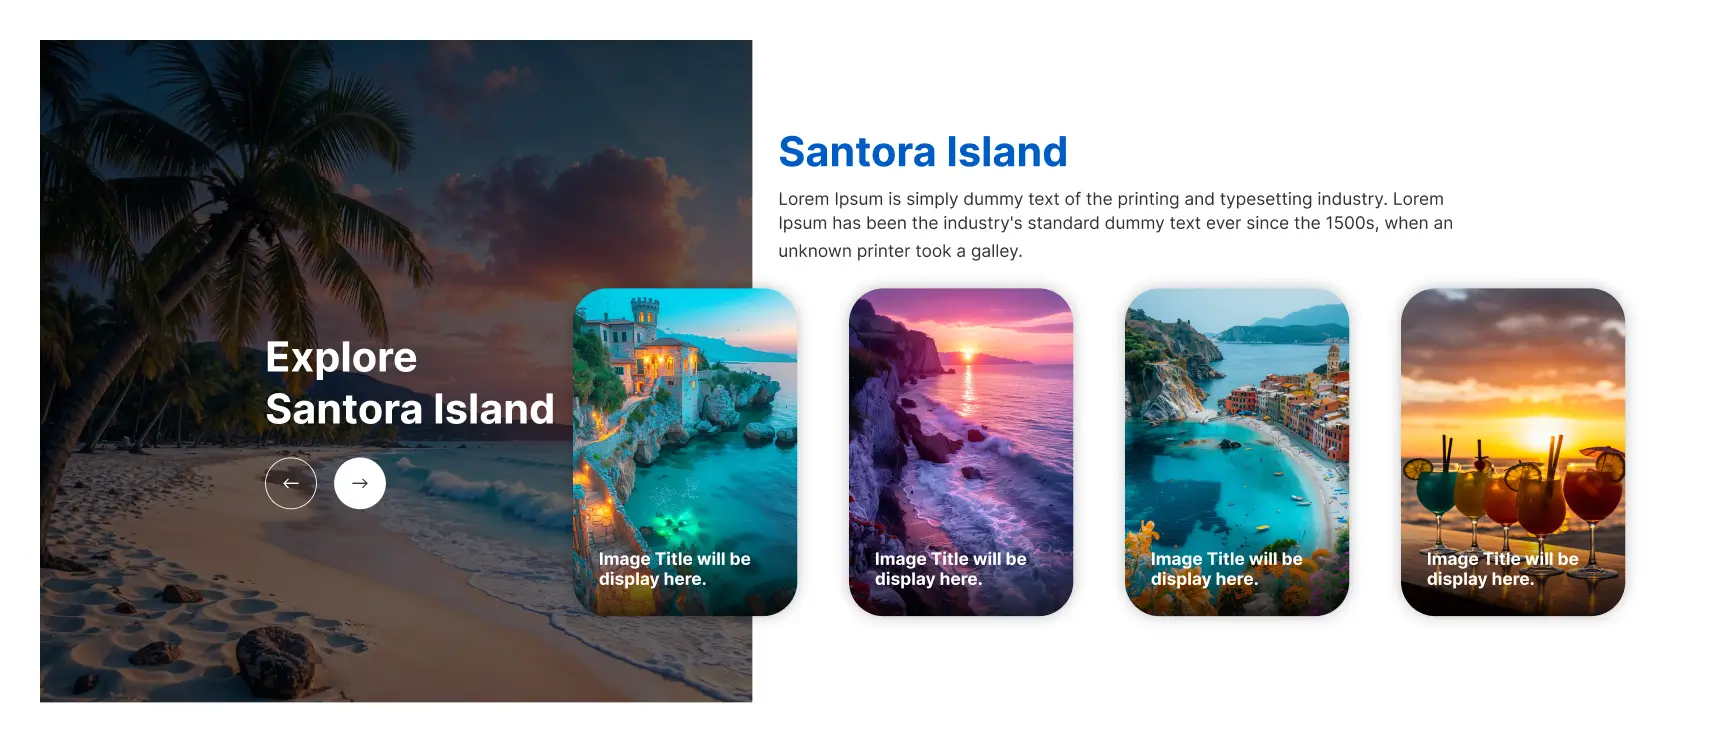
>Layout 4 — Split layout with featured image on the left and cards on the right
>Layout 5 — Split layout with title section on the right
>Layout 6 — Clean responsive grid
>Layout 7 — Masonry grid with category filter buttons
The preview updates instantly when you switch layouts. Your previously added content is preserved when changing layouts.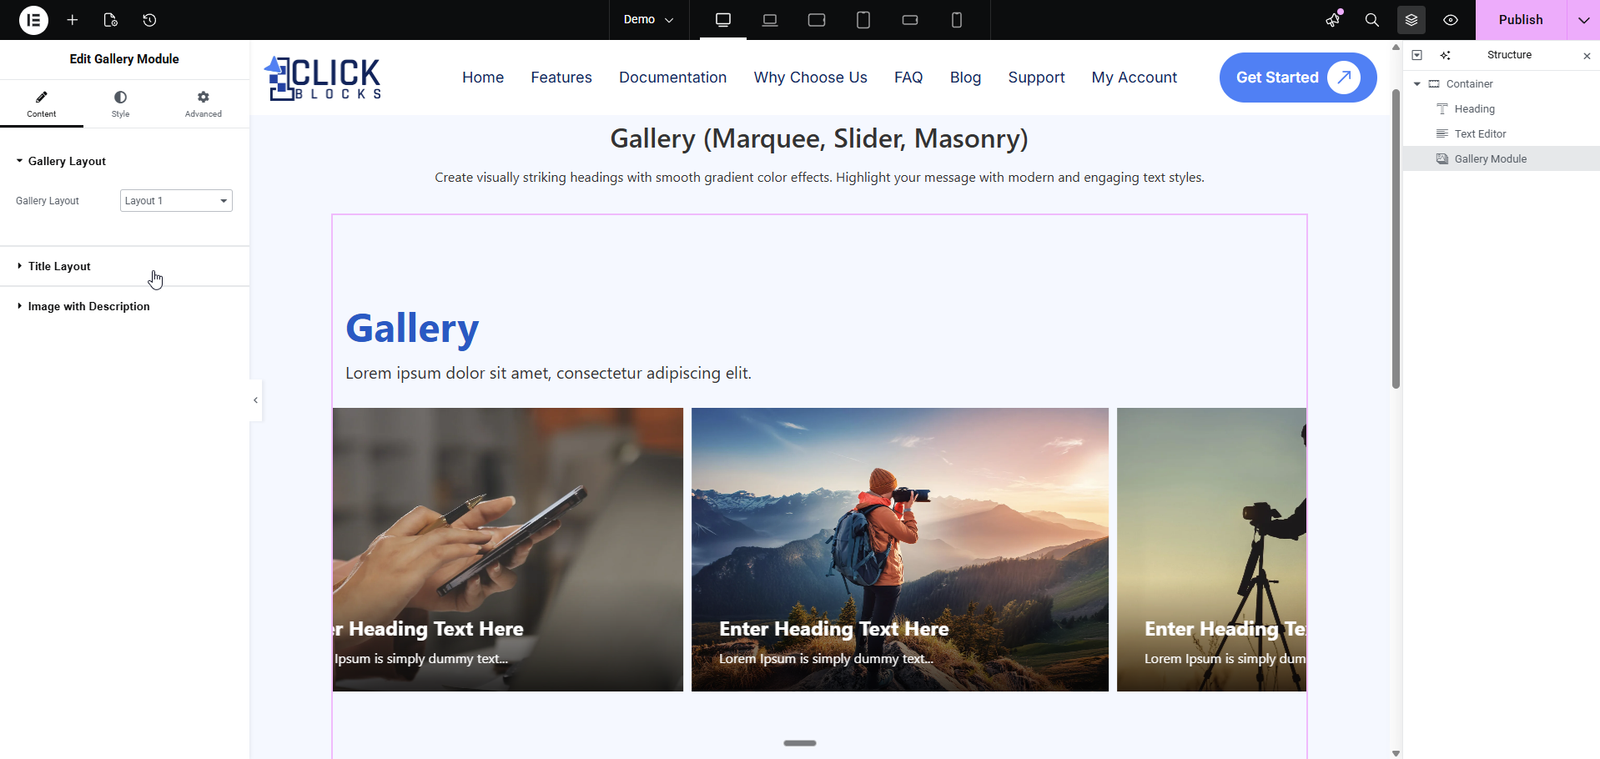
Configure the heading and description that appear at the top of your gallery section.
>Heading — Enter the main title for your gallery, for example, “Our Portfolio” or “Photo Gallery”.
>Heading HTML Tag — Choose the HTML tag for the heading, such as H2, H3, or H4.
>Description — Write a short subtitle or introductory text using the rich text editor. You can apply bold, italic, links, and other formatting.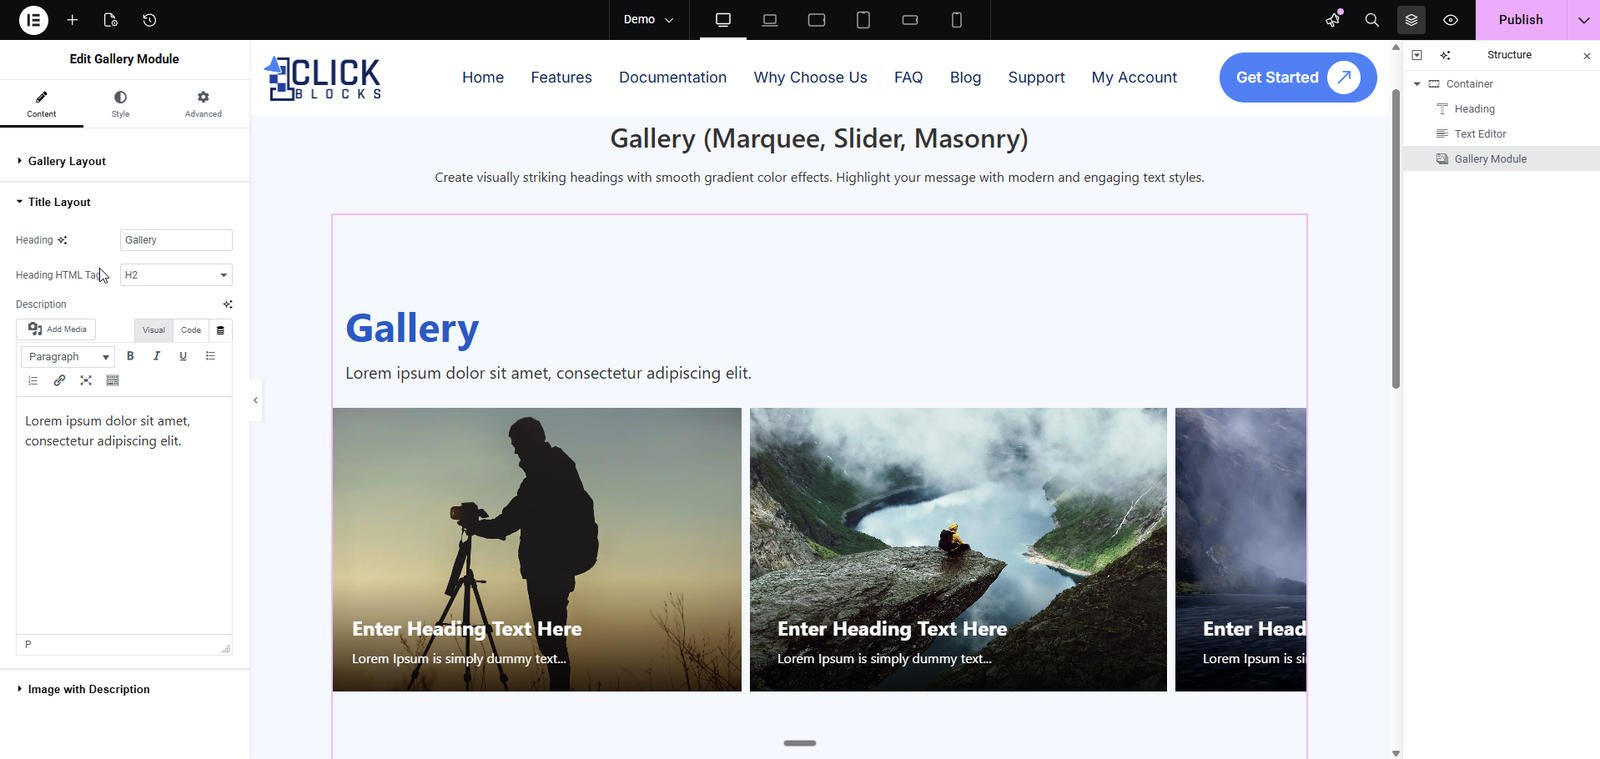
Available in Layout 1. This section lets you add individual gallery items, each with its own image, title, and description.
>Listing Heading HTML Tag — Set the HTML tag for each item’s heading, for example, H2 or H3.
>Repeater Items — Each item includes the following fields:
>Image — Click Add Media to upload or select an image from the Media Library.
>Title — Enter the heading text for this gallery item.
>Description — Add a short description or caption using the rich text editor.
>Click + Add Item to add more gallery entries, or click the × icon to remove an item.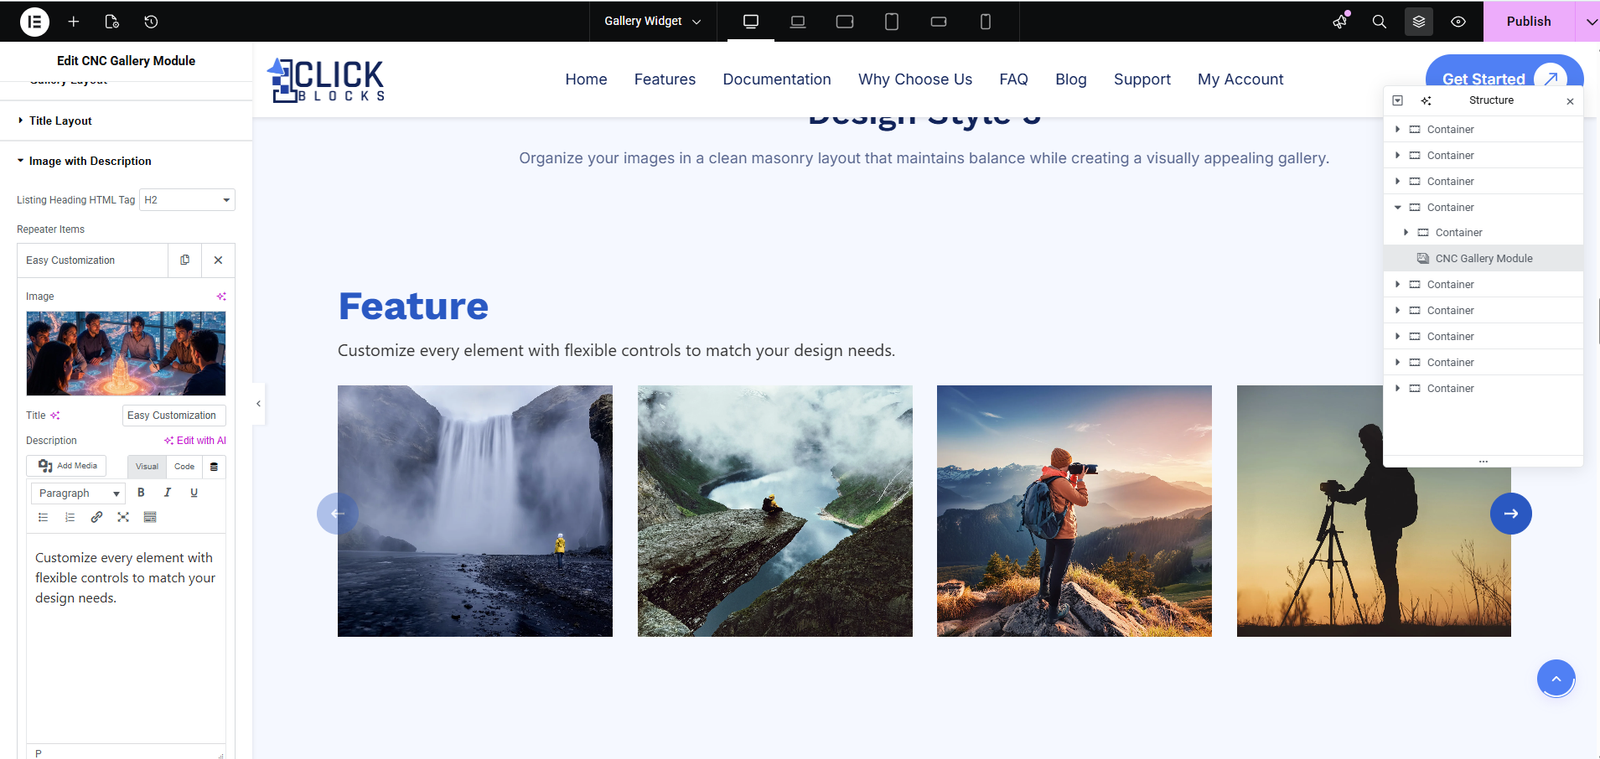
Available in Layout 2, 3, 4, 5, and 6. This section manages all images displayed in the gallery.
>Gallery — A repeater list where you can add multiple images. For each image:
>Click Add Media to upload or select from the WordPress Media Library.
>Optionally add a Title and Description for each image.
>Reverse Gallery — An additional repeater group used in certain layouts to display a second set of images, often for alternating or staggered designs.
>Use the drag handle to reorder images within the list.
>Click + Add Item to add a new image, or click the × icon to remove one.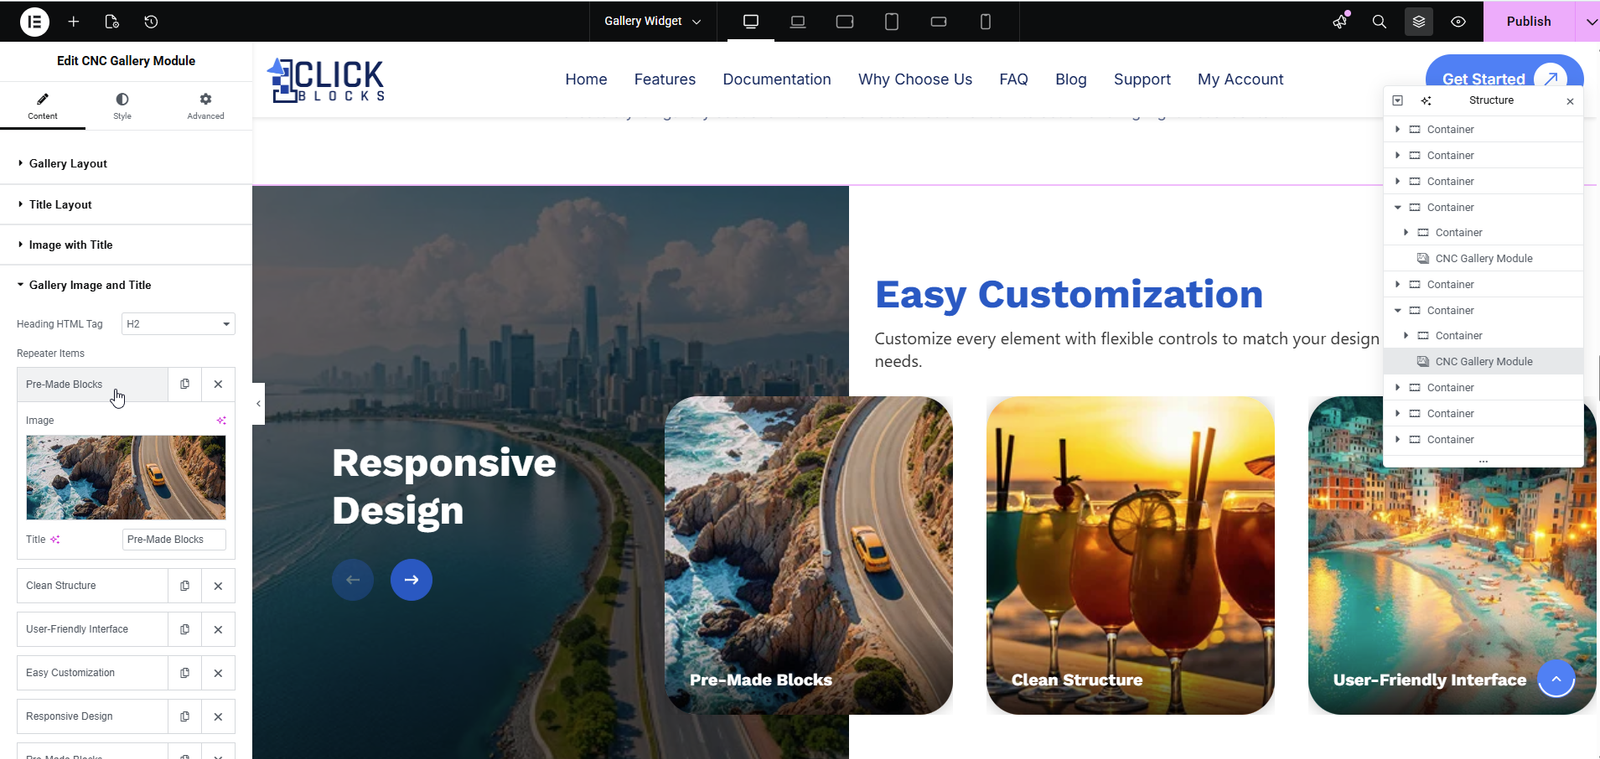
Available in Layout 4 and 5. This section configures the large featured image area that appears alongside smaller gallery cards.
>Image Heading — Enter the heading text for the featured section, for example, “Section Title”.
>Heading HTML Tag — Choose the HTML tag, such as H2 or H3.
>Image — Upload or select the main featured image from the Media Library.
Available in Layout 4. Configure the smaller card images displayed on the right side of the split layout.
>Repeater Items — Each card includes an image and a title field.
>Image — Click Add Media to upload or select an image.
>Title — Enter the heading text for each card.
>Click + Add Item to add more cards or × icon to remove one.
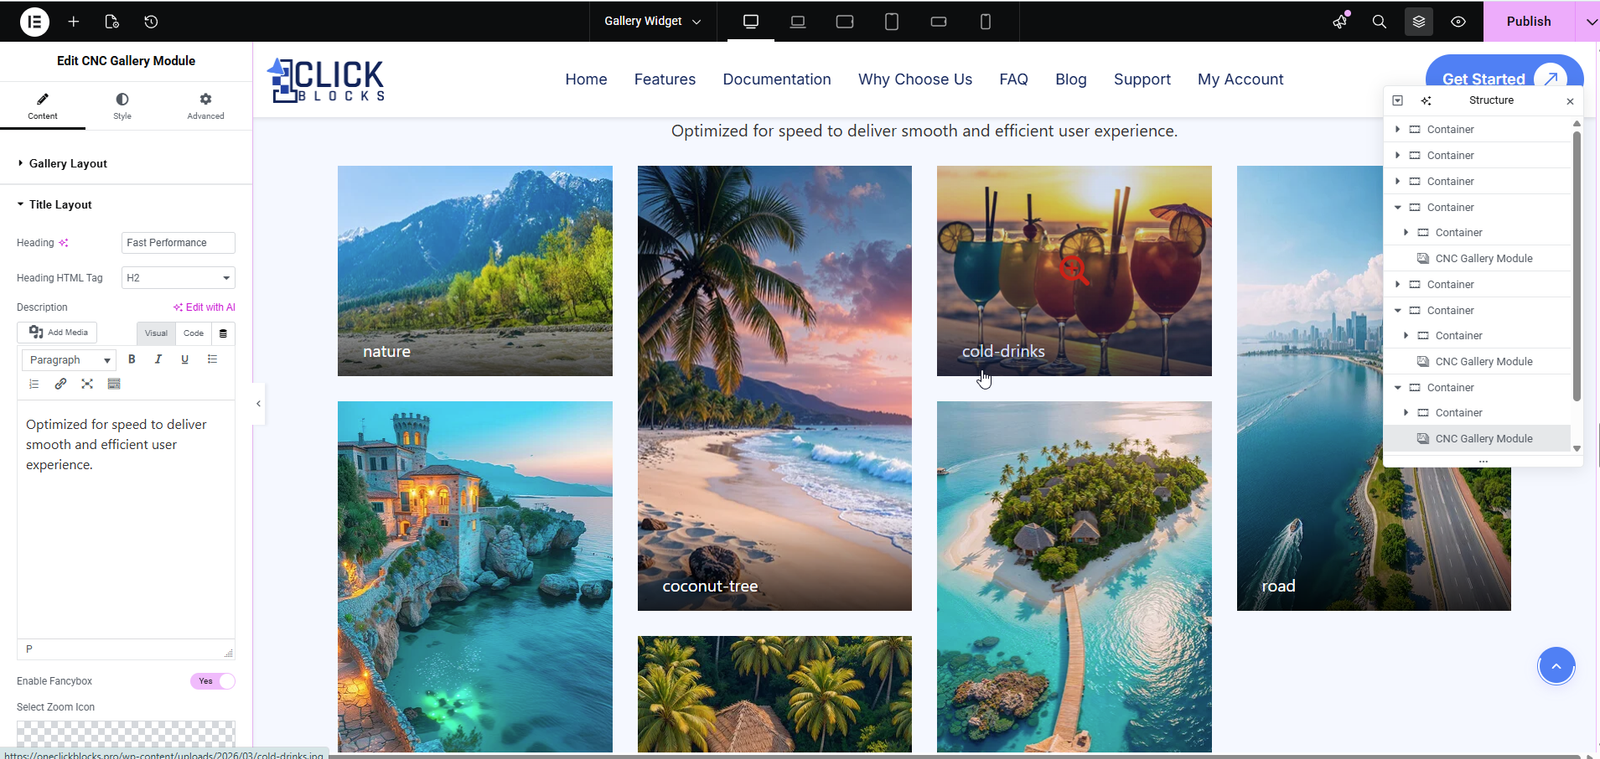
Available in Layout 7. Add your masonry gallery images and assign each one to a category.
>Repeater Items — Each item includes:
>Image — Upload or select an image from the Media Library.
>Title — Enter the caption or label for the image, for example, “nature”, “nightview-hotel”, or “coconut-tree”.
>Category — Select the filter category this image belongs to. This determines which filter button will show or hide this image.
>Click + Add Item to add more images or × icon to remove one.