The How It Works widget by OneClickBlocks is a powerful Elementor widget designed to visually explain your process, workflow, or step-by-step instructions. With multiple pre-built layout styles, customizable icons, titles, content, and full design control, this widget helps you create professional process sections that engage visitors and improve content clarity on your website.
Before you start using the How It Works widget, make sure you have the OneClickBlocks plugin installed and activated on your WordPress site.
Step 1: Go to your WordPress Dashboard and navigate to Elementor → Widgets or the OneClickBlocks widget manager.
Step 2: Locate the How It Works widget in the widget list. Ensure the toggle switch is turned ON to activate it.
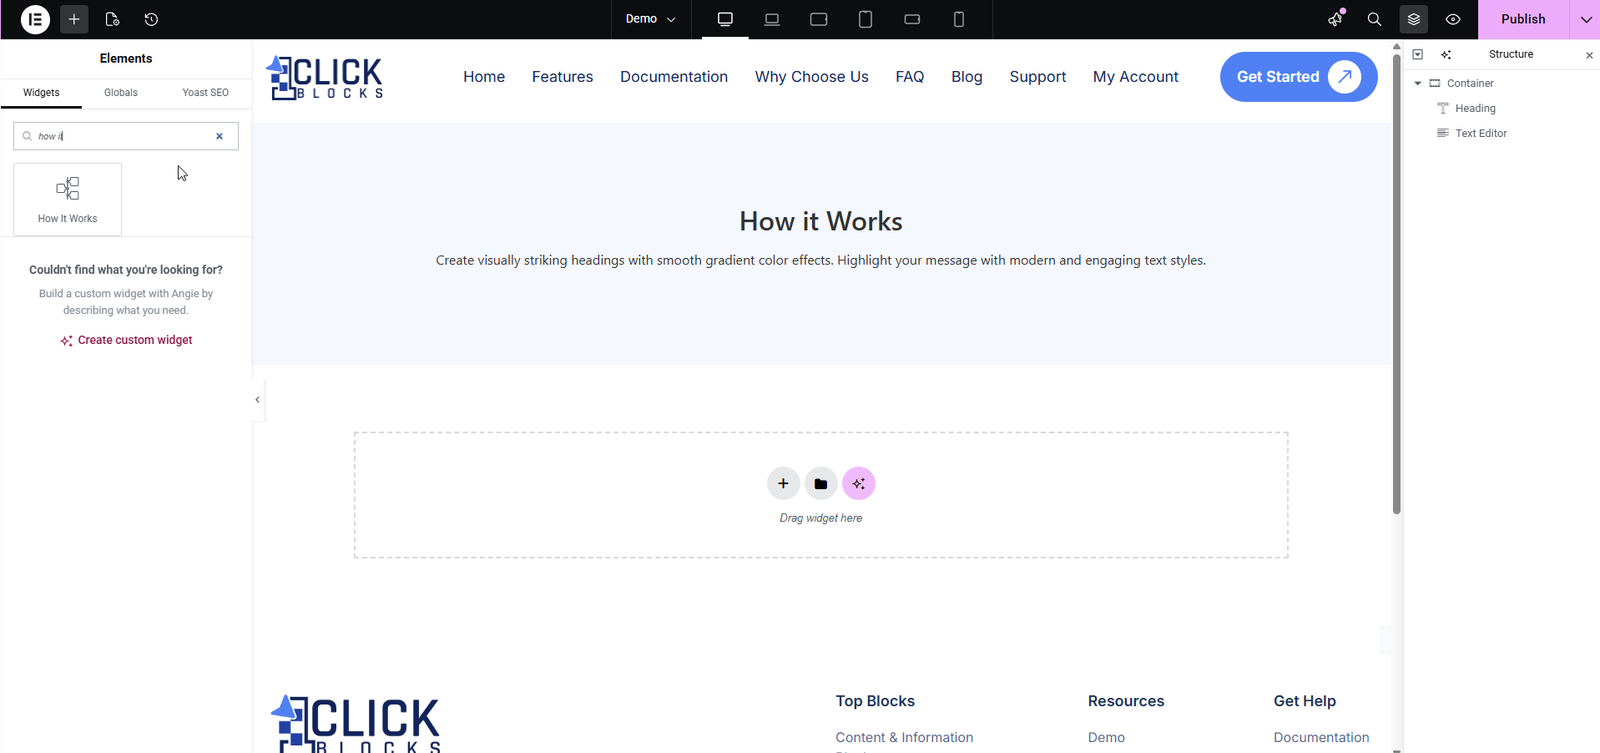
Step 3: Open any page in the Elementor Editor. In the left panel, search for “How It Works” in the widget search bar, then drag and drop the widget into your desired section or container.
Step 4: Once dropped, the widget will instantly appear in your layout. You can now begin configuring its content and design settings.
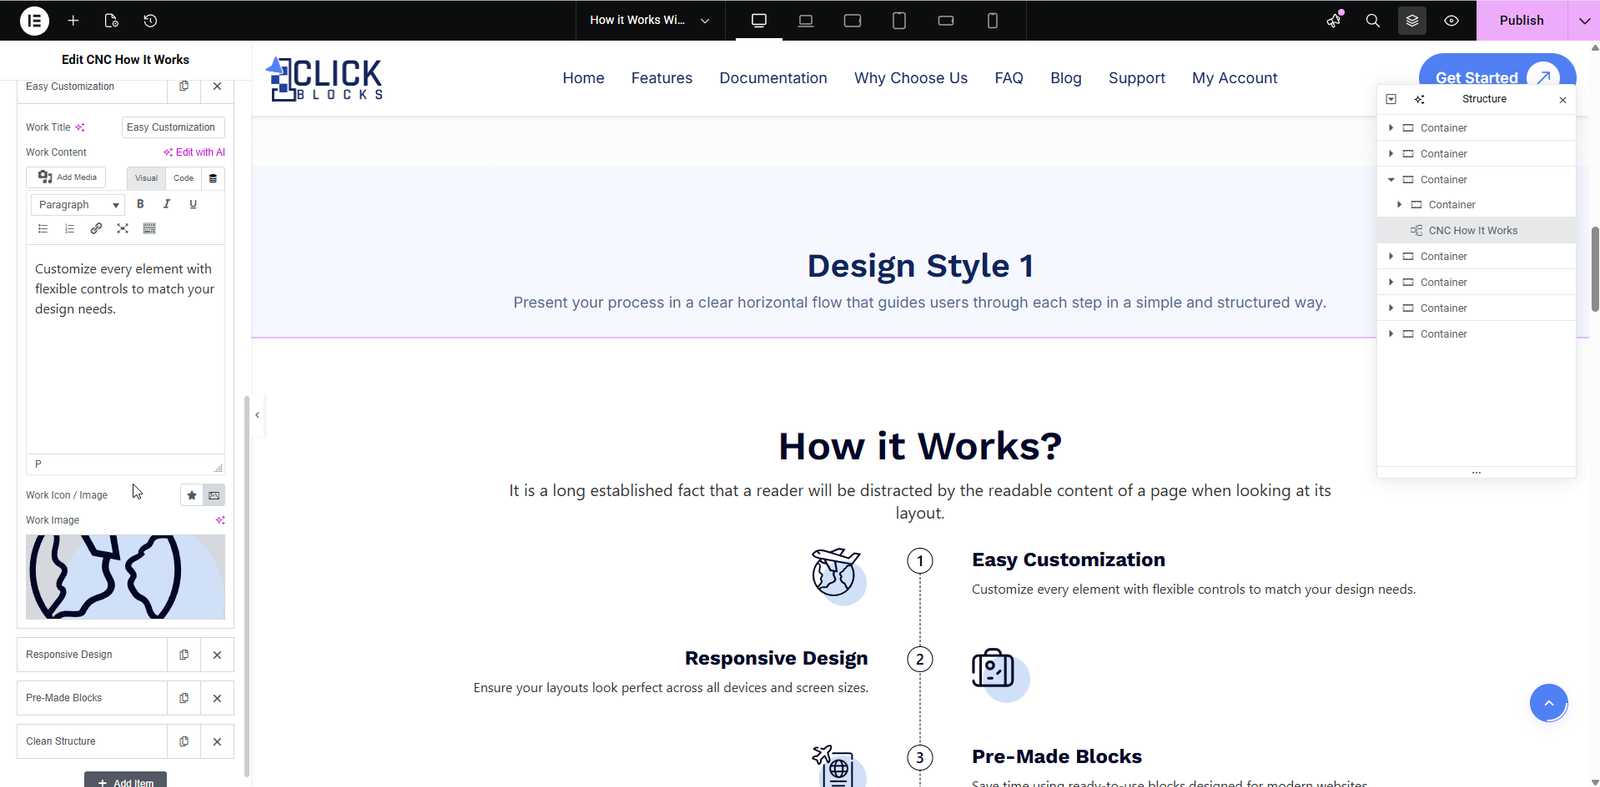
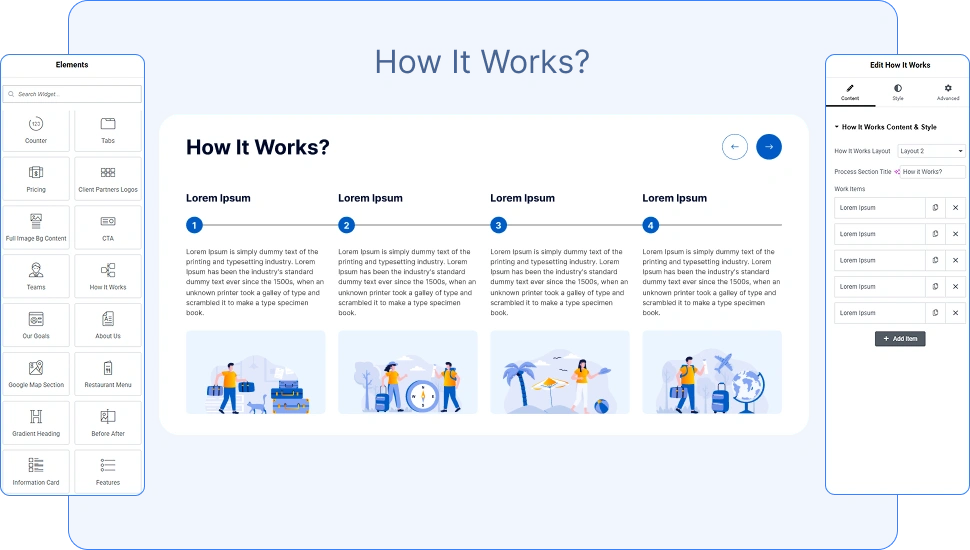
The How It Works Layout dropdown allows you to choose from multiple pre-designed layout styles for your process section. Select your preferred layout and the preview will update instantly. Available layouts include vertical alternating steps, curved path layouts, horizontal columns, and carousel-style cards.
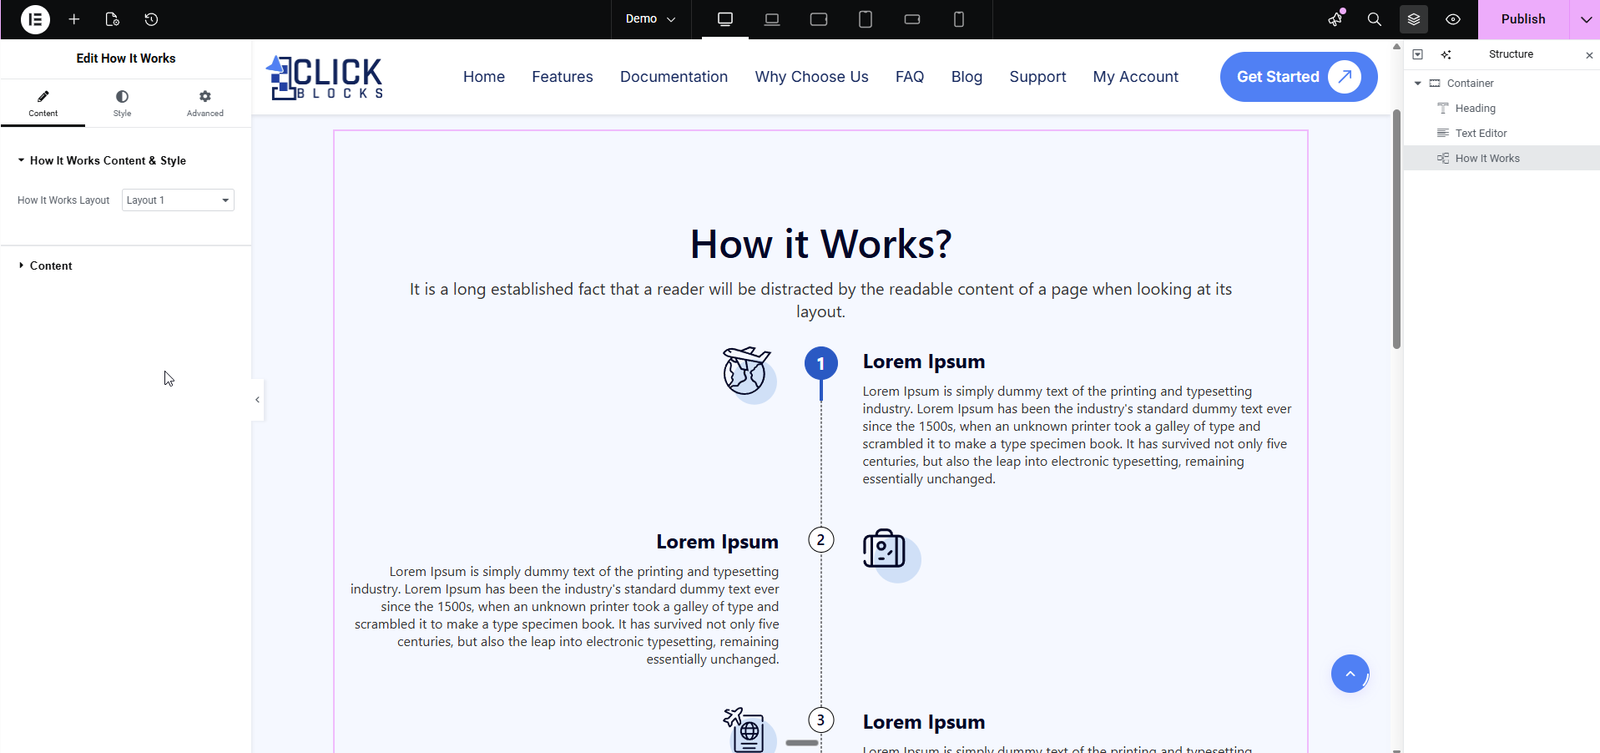
The Content accordion contains all the text and item-level settings for the widget. Click on it to expand and access the following fields:
Enter the main heading text for your process section. This appears as the primary title above the steps. Example value: “How It Works”.
A full WYSIWYG (What You See Is What You Get) text editor where you can add a descriptive paragraph or subtitle below the main title. You can switch between Visual, Code, and Text modes to add formatted content, links, or plain text. Use the formatting toolbar to apply bold, italic, alignment, lists, and other styles.
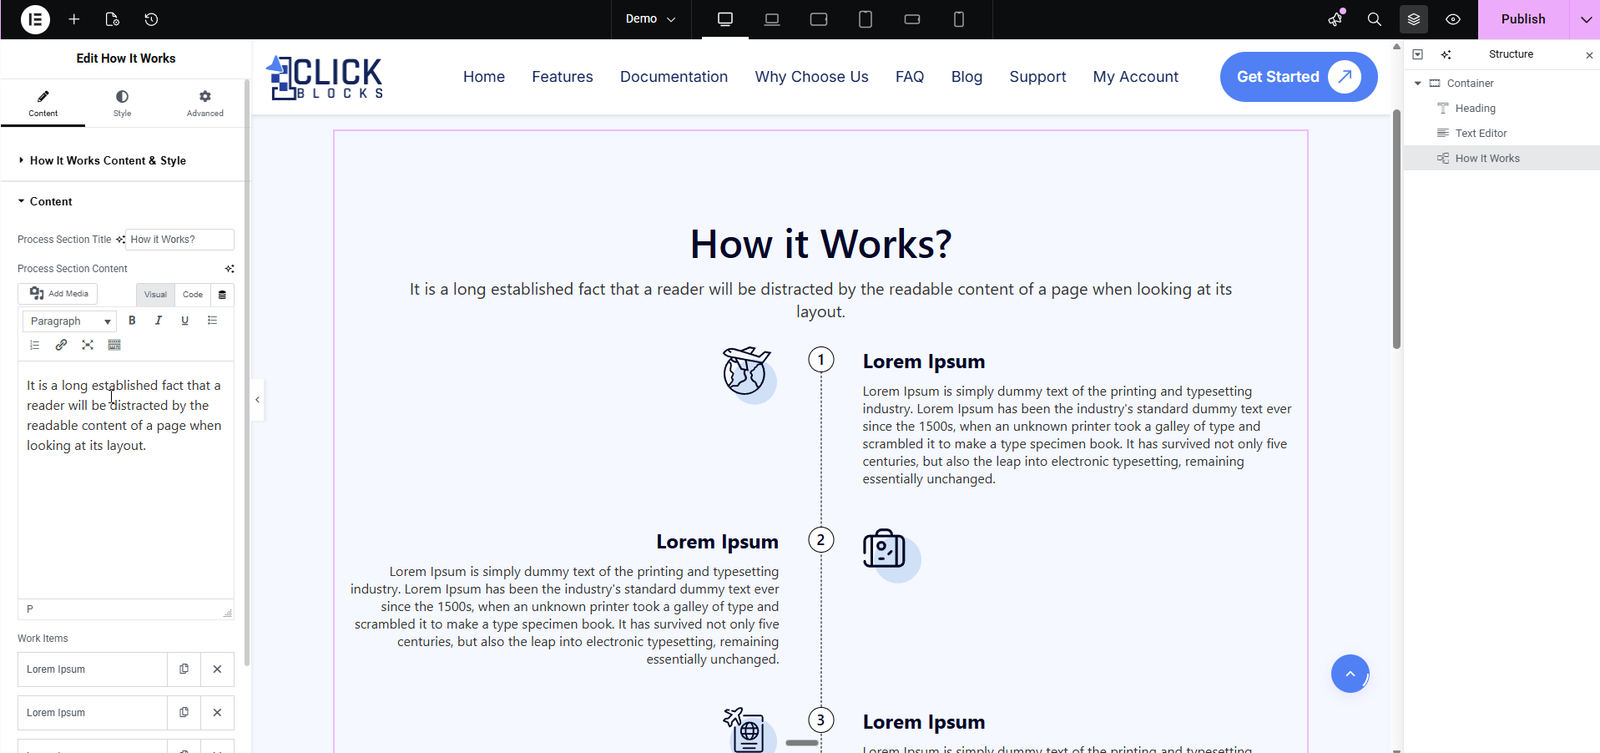
The Work Items repeater holds all individual steps or process items displayed in your layout. Each item contains the following sub-fields:
The heading or name of each individual step in your process. Example value: “Step One” or “Research & Planning”.
A rich text editor field for the description or detailed content of each step. Use the Visual tab for WYSIWYG editing or the Code tab for raw HTML. The editor supports paragraphs, bold, italic, lists, links, and other standard formatting options.
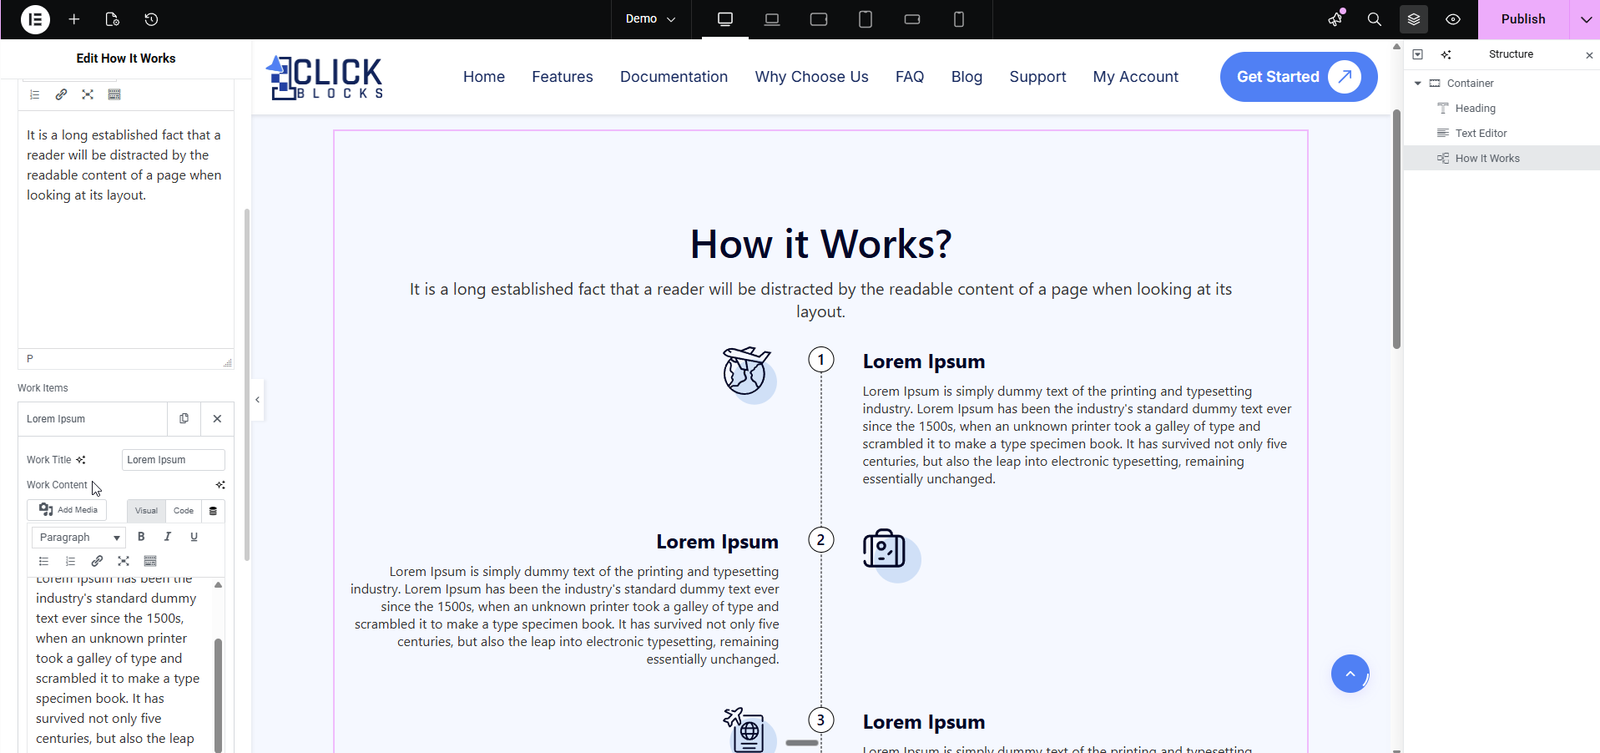
Upload or select an icon that represents each step visually. You can choose from your WordPress media library or upload a new image/SVG. Icons appear alongside or above each step title depending on the selected layout.