The OneClickBlocks CTA Widget is a powerful Elementor widget designed to help you create eye-catching call-to-action sections on your WordPress website — without writing a single line of code. Whether you want to promote a service, encourage sign-ups, drive traffic to a landing page, or guide visitors toward a key action, the CTA Widget gives you the tools to build it quickly. With 7 unique layout variations, customizable text fields, link options, and button controls, this widget is fully responsive and ready to convert visitors across all devices.
To start using the CTA Widget, follow these simple steps:
Step 1: Go to your WordPress Dashboard and navigate to OneClickBlocks → Elements.
Step 2: Find the CTA Widget in the list of available elements.
Step 3: Toggle the switch to Enable the widget.
Step 4: Click Save Settings to apply the changes.
Step 5: Open your page in the Elementor Editor. Search for “CTA” in the Elements panel, then drag the widget onto your page to start editing.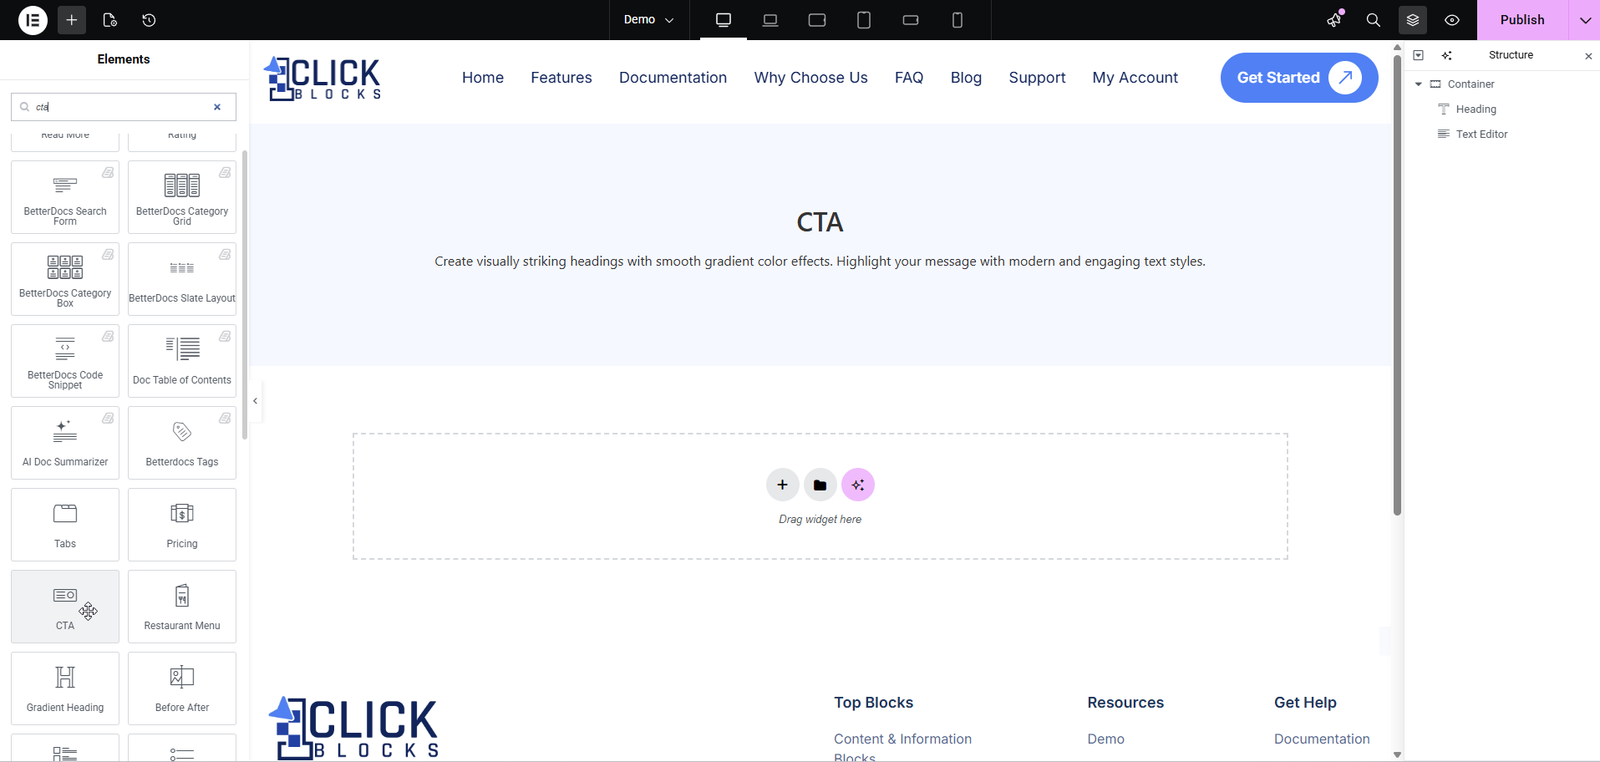
Once you have added the CTA Widget to your page, the left-side Elementor panel will display the Content tab with all available configuration options. Below is a complete breakdown of every setting available in the Content tab.
This is the primary control that determines the visual structure of your call-to-action section. The CTA Widget offers 7 distinct layout styles, each with its own design and arrangement of elements.
CTA Layout: Use the dropdown to select from Layout 1 through Layout 7. Each layout changes the arrangement of the heading, description, button, and decorative elements. Switching layouts updates the live preview instantly without deleting your entered content.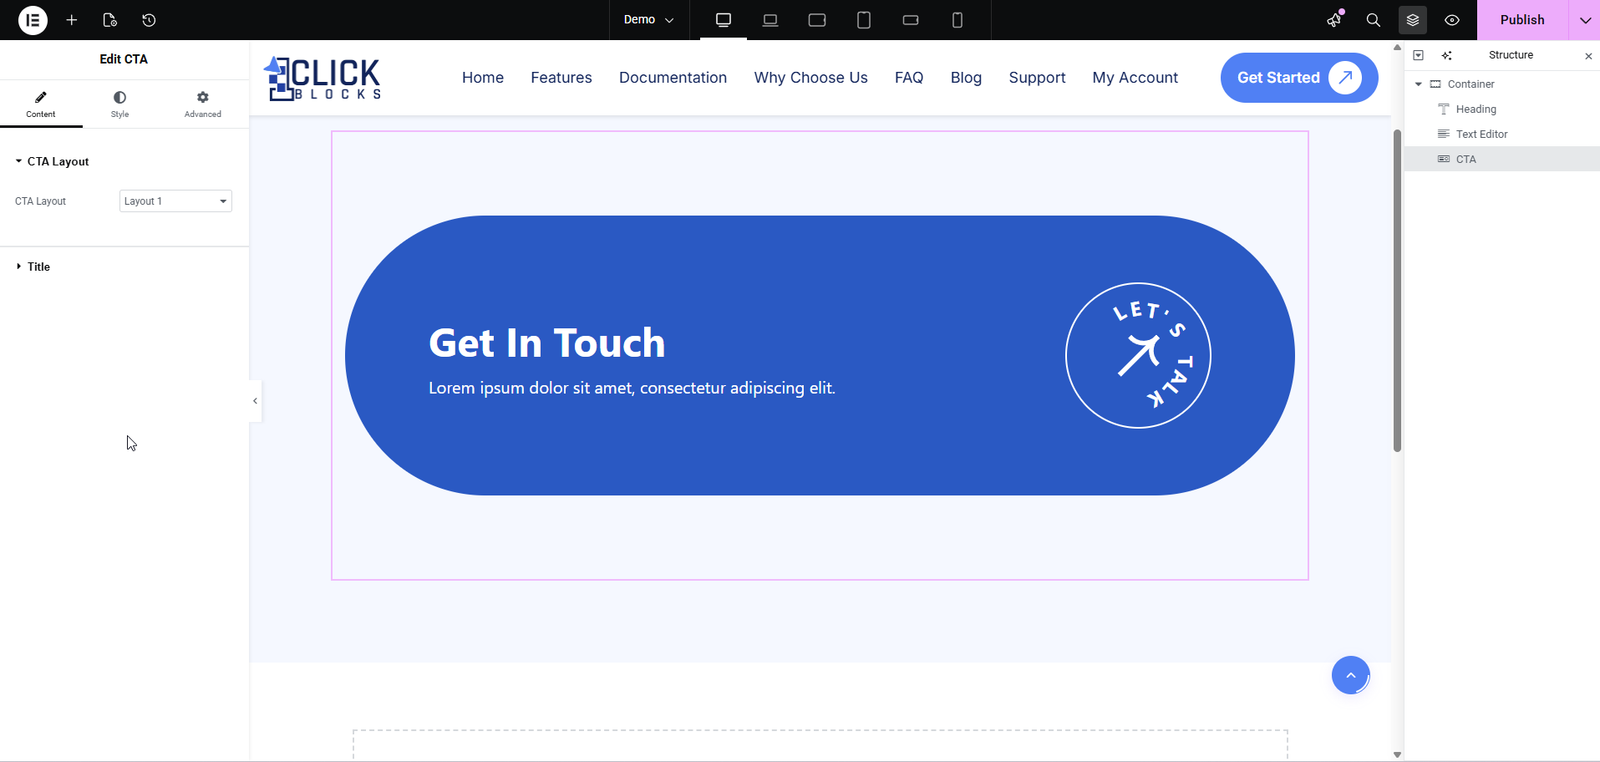
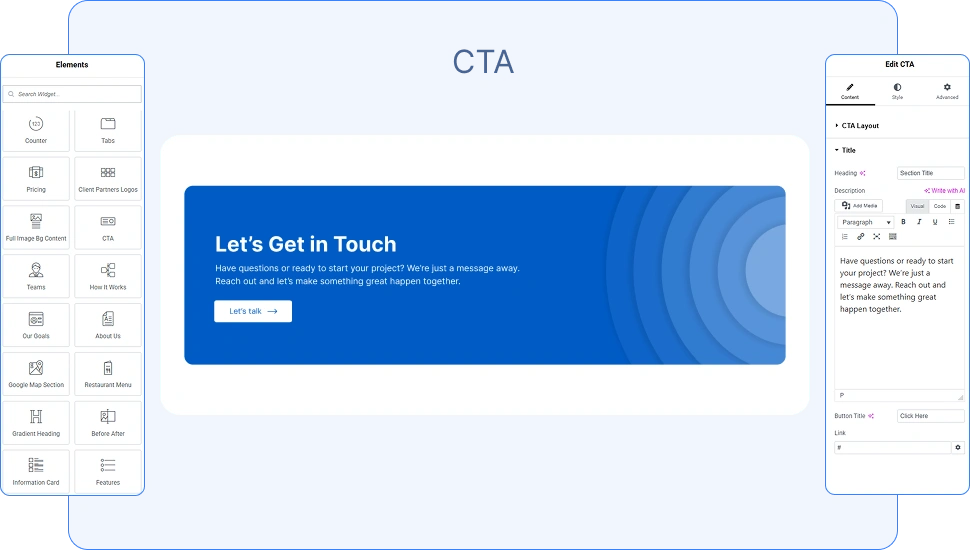
The Title section contains all the text and link fields that define the content of your CTA section. The exact fields available may vary slightly depending on the layout you have selected.
Heading: Enter the main heading text for your CTA. This is the primary text that visitors will see first, such as “Get In Touch” or “Start Your Free Trial”. The heading appears prominently in all layout variations.
Right Text: Available in Layout 1, this field controls the circular text displayed inside the arrow icon on the right side of the CTA. The default value is “Let’s Talk”, but you can customize it to match your brand voice.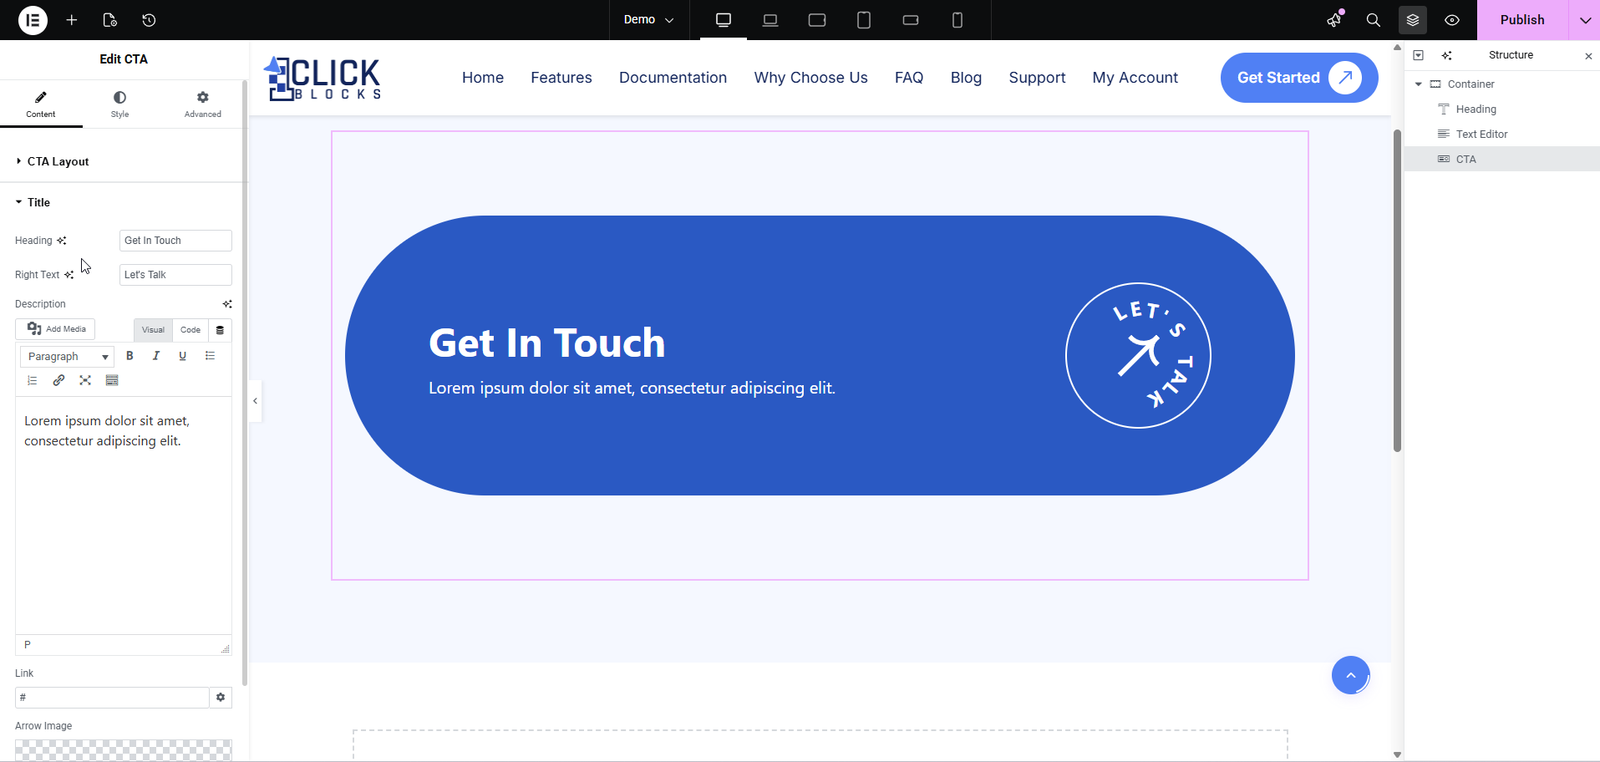
Description: Add a descriptive paragraph or short message below the heading. This field uses a rich text editor with both Visual and Code modes, allowing you to format text, add bold or italic styling, insert links, and adjust alignment. The default placeholder text is “Lorem ipsum dolor sit amet, consectetur adipiscing elit.”
Button Title: Available in Layouts 2 through 7, this field sets the text displayed on the CTA button. The default value is “Click Here”, but you can change it to any action-oriented text such as “Learn More”, “Get Started”, or “Contact Us”.
Link: Set the URL that the CTA button or section will link to when clicked. Enter any valid web address (e.g., #contact, https://yourdomain.com/signup). This ensures your CTA drives visitors to the correct destination.
Arrow Image: Available in Layout 1, this setting allows you to upload a custom image or icon to replace the default arrow graphic displayed on the right side of the CTA. Use this to match your brand’s visual identity.